Steamboat Springs: Top 5

Are you in Colorado and looking for a winter get-away? Why not Steamboat?

To really appreciate the culture, consider staying downtown rather than on the mountain. You won’t regret it.

Here are 5 things to check out in Steamboat Springs:

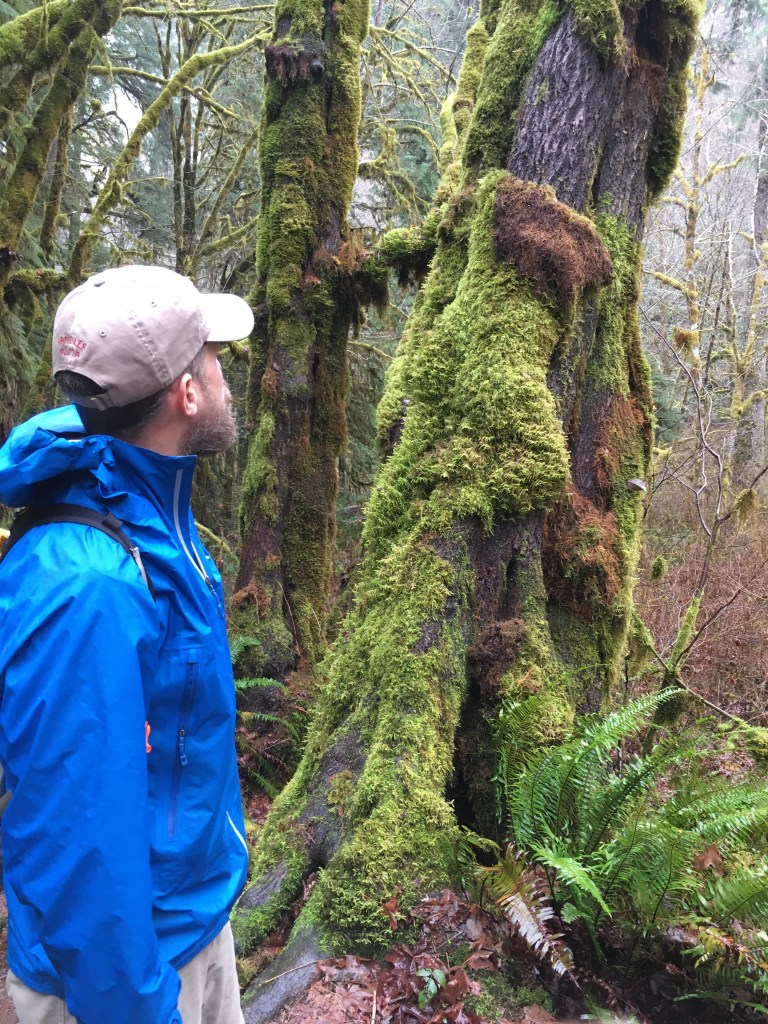
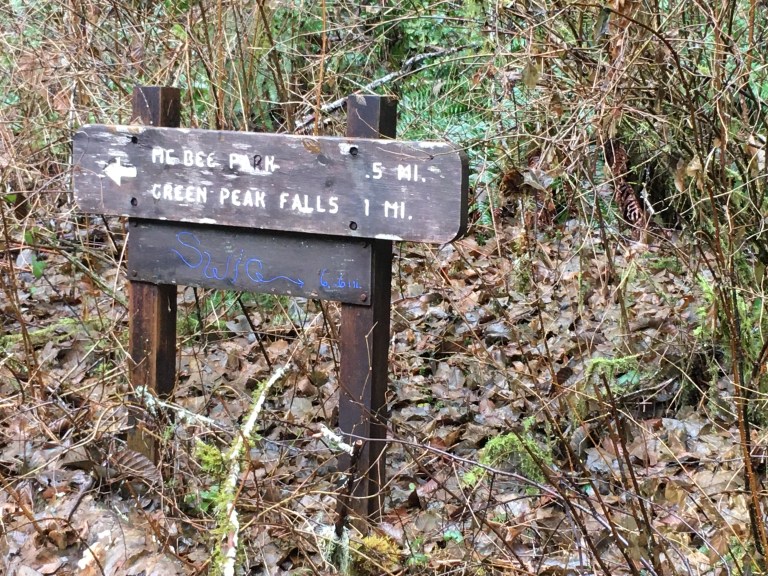
5. Fish Creek Falls.

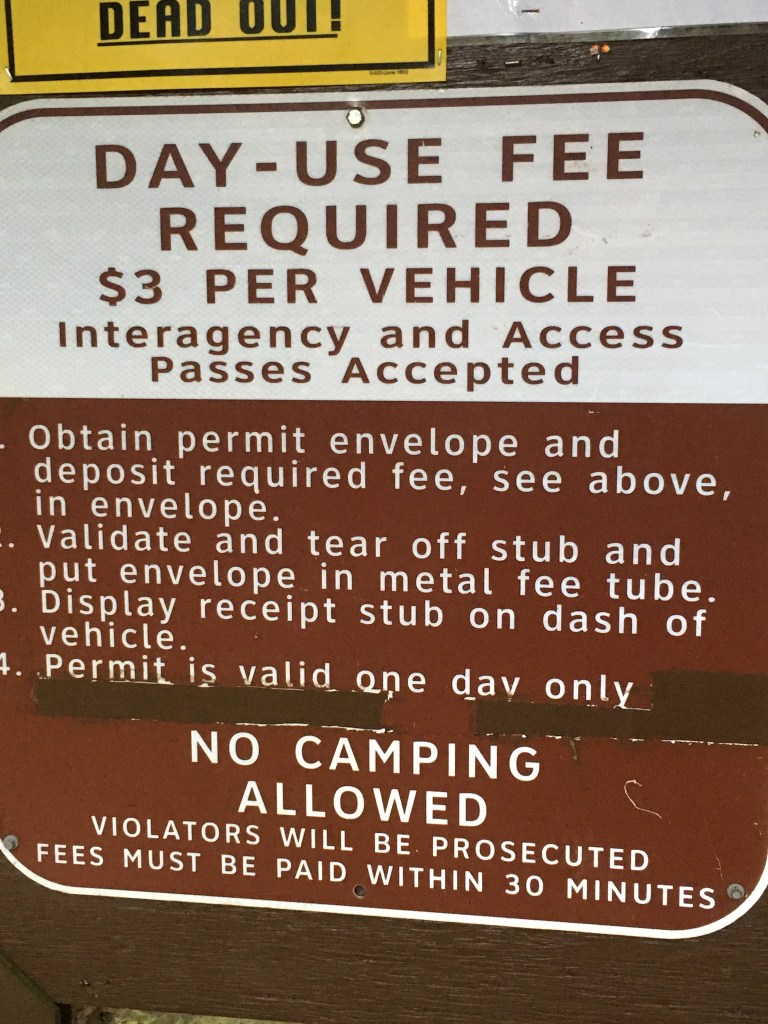
A short hike with rewarding views. Five dollars to park but avoid parking by walking from any where in town. Snow shoes or Yak tracks may help if slippery. Keep an eye out for ice climbers. Warm up afterwards with a drink at the Old Town Pub.

4. Rabbit Ears Pass.

Snowshoeing options are endless on Rabbit Ears pass. Skis and skins are a great option too. West Summit Loop is popular but there are tons of other options. You will likely see and hear snowmobiles. There are snowmobile rental options if that is more your speed.

3. Winter Carnival.

If you are interested in amateur ski jumping or skijouring and don’t mind crowds, this is the carnival for you. Don’t plan on driving down main street during this event as it will be closed and snow covered. Luckily, you can get everywhere you need to go by foot.

2. Howelsen Hill.

Billed as North America’s oldest operating ski area, Howelsen Hill is not to be missed. It sits unassumingly in town and has a long history of training Olympic athletes. While ski jump may be its most unique feature, I recommend skate skiing. Throw on some skate skis and hit the trail during a full moon.

1. Strawberry Park Hot Springs.

Of all the hot springs, this one is still my favorite. I have been there with my grandma in the afternoon and with my friends during a drum circle at night. The road is muddy and parking is limited. You may consider planning ahead and booking a cabin (or a caboose if you want to be more “Aspen Extreme”). While the lodging is convenient and fun, please realize that the cabins aren’t exactly like a five star hotel. Whether day or night, Strawberry Park Hot Springs is the right balance of accessible, clean, and downright beautiful hot springs.

Please follow our blog for other adventures!

https://ramblingfootsteps.travel.blog/2020/04/21/throwback-blog-series-a-tour-of-utah/ https://ramblingfootsteps.travel.blog/2020/01/31/colorado-winter-hut-trip-101/

Sprinter under seat storage.

What is under the kids’ seats?

We removed the second row in our Sprinter but left the third. The kids sit there and we keep our day use items in the under seat storage.

So, what do we keep there?

These are just the right size for under the back seat.

Under Grace’s seat we kept two collapsible canvas bins. The first one pushed back so that the second one would fit as well.

First Bin:

The first one had six swimsuits and two pair of goggles.

This may seem like an odd choice but we have been to splash pads in nearly every State and Province that we have driven through. I even had an idea to make a splash pad locator app for parents traveling with kids. I didn’t follow through when I realized that other parents may not be as excited about having wet kids in the car on and off day after day. In any case, it didn’t take long for us to see the benefits of accessible kids swimwear.

The Sprinter acts as a mobile changing room. When they are motivated by a splash pad, the kids can get their suits on in under two minutes flat. After the fun, they can just slip their clothes back on and hang the wet suits on our make shift Sprinter clothes line.

One of the earlier ones. A good example of why we pack readily accessible swimwear. This was more of a fountain that a splash pad and not too many people in Aspen were into playing there. We liked it! Sprinter DIY
Passing through Salt Lake City on a super hot day. Sprinter DIY. Sprinter under seat storage.

Second Bin:

The second bin contained sunscreen and towels.

Middle Bin:

The middle row held the trash can. CD made it out of re-purposed heavy duty cardboard. It was just the right size and height.

2 Extra Bins of Sprinter Under Seat Storage:

There were also two bins under HB’s seat. The bin farthest back contained playing cards, dice, and travel board games. I added Racko to the mix last year but the kids lost interest once they found out that it was my favorite.

The second bin had a mix of drawing pads, notebooks, pencils, and pens. These got a fair amount of use both on the road and when we were stopped. HB made a fairly elaborate picture journal on our way out of Yellowstone last year.

In true CD style, all of the bins and the garbage can were held in place by a bungee cord and 3 mm accessory cord. They never slid forward when we braked so I guess this technique worked.

We will definitely continue to use the bins and garbage can but I imagine that the contents will evolve over time. I hope we stick with swimsuits and towels. Prioritizing such non-practical items just seems like a sign of a family that is out for a spontaneous and carefree good time!

Since my splash pad app never took off, here is non-comprehensive list of great splash pads we have found.

  • North Carolina (Ashville)
  • Florida (Marco Island)
  • Minnesota (Sauk Centre)
  • Ontario (Wiarton, Grand Bend, Bayfield, Port Elgin)
  • Michigan (Millennium Park; Sparta)
  • Colorado (Aspen)
  • Oregon (Corvallis)
  • British Columbia (Kelowna)
  • Alberta
  • Utah (Salt Lake City)

Disclosure: Please note that this post contains affiliate links. This means that we may get a small commission if you click a link and purchase something that we recommend. Clicking these links will not cost you extra money but will help us grow our website. Thank you for your support!

Please follow our blog to share our adventures.

What exactly is stored under the kids seats?

We removed the second row in our Sprinter but left the third. The kids sit there.

So, what did we keep under their seats when we traveled last summer?

These are just the right size for under the back seat.

Under Grace’s seat we kept two collapsible canvas bins. The first one pushed back so that the second one would fit as well.

The first one had six swimsuits and two pair of goggles.

This may seem like an odd choice but we have been to splash pads in nearly every State and Province that we have driven through. I even had an idea to make a splash pad locator app for parents traveling with kids. I didn’t follow through when I realized that other parents may not be as excited about having wet kids in the car on and off day after day. In any case, it didn’t take long for us to see the benefits of accessible kids swimwear.

The Sprinter acts as a mobile changing room. When they are motivated by a splash pad, the kids can get their suits on in under two minutes flat. After the fun, they can just slip their clothes back on and hang the wet suits on our make shift Sprinter clothes line.

One of the earlier ones. A good example of why we pack readily accessible swimwear. This was more of a fountain that a splash pad and not too many people in Aspen were into playing there. We liked it! Sprinter DIY
Passing through Salt Lake City on a super hot day. Sprinter DIY

The second bin contained sunscreen and towels.

The middle row held the trash can. CD made it out of re-purposed heavy duty cardboard. It was just the right size and height.

There were also two bins under HB’s seat. The bin farthest back contained playing cards, dice, and travel board games. I added Racko to the mix last year but the kids lost interest once they found out that it was my favorite.

The second bin had a mix of drawing pads, notebooks, pencils, and pens. These got a fair amount of use both on the road and when we were stopped. HB made a fairly elaborate picture journal on our way out of Yellowstone last year.

In true CD style, all of the bins and the garbage can were held in place by a bungee cord and 3 mm accessory cord. They never slid forward when we braked so I guess this technique worked.

We will definitely continue to use the bins and garbage can but I imagine that the contents will evolve over time. I hope we stick with swimsuits and towels. Prioritizing such non-practical items just seems like a sign of a family that is out for a spontaneous and carefree good time!

Since my splash pad app never took off, here is non-comprehensive list of great splash pads we have found.

  • North Carolina (Ashville)
  • Florida (Marco Island)
  • Minnesota (Sauk Centre)
  • Ontario (Wiarton, Grand Bend, Bayfield, Port Elgin)
  • Michigan (Millennium Park; Sparta)
  • Colorado (Aspen)
  • Oregon (Corvallis)
  • British Columbia (Kelowna)
  • Alberta
  • Utah (Salt Lake City)

What should we do with our spare Sprinter seats?

We store the seats from our Sprinters in our garage.

Three months into owning the first one, we dismantled the bed, put the seats back in, and sold it in its original passenger van form. It was easy to sell.

It was nice to re-claim our garage. Sprinter seats aren’t small.

We chose the passenger van for the windows and we don’t regret it! The kids can see out. We can see out. We can lay on the bed and look at the view. We can also chose to put up the blinds and act as if we don’t have windows at all.

I sometimes wonder if I would be claustrophobic without the windows. When the blinds are up, I sometimes lift a corner just to look out at the world.

This was our van when we bought it.

The seats do not move easily. The back seat is especially hostile. It is bolted to the wall of the van and the other seats needs to be removed to get it out.

Just imagine the possibilities of easily changing a van from a camper to a passenger van. You could sleep in it one day and take all of our friends to the beach the next.

We haven’t invented the camper conversion that would make this dream a reality but will let you know if that changes!

In the meantime, I am voting for selling our seats and re-claiming our garage for the second time.

Would you like to buy two rows of 2015 Sprinter seats? We are offering a great deal to the first person that stops by to pick them up! Just think of all of the kids you can take to soccer if you had two more rows of seats!

Here we are in Utah. Deep in the heart of gridlock

For us, a bed in a van is so much better than seats! The soccer car pool will have to go on without us but if any one needs to lay down and rest, we have just the vehicle for that!

Our favorite camping toilet.

Well, this isn’t really the most revolutionary topic but I decided to just tackle it head on!

The Luggable Loo, biodegradable bags, and Poo Powder are our current go-to-s!

Continue reading to learn a bit more about how we ended up loving the Loo. Don’t worry, I pretty much left out all of the dirty details!

By the way, you can click on the pictures to link for more information on the Loo and our favorite accessories!

Seriously, this isn’t a joke. We love these products!

Warning: If you are not used to driving through remote wilderness with two young kids that need to go potty, then you may find some of this information uncomfortable.

The right portable toilet and toilet accessories is a topic of great interest for any budget friendly DIY Sprinter conversions. CD and I agreed not to add plumbing to our Sprinter. This meant no toilet and no indoor kitchen.

In terms of toilet solutions, it seems like we have tried it all. Our kids outgrew their training potty somewhere between the midwest and a highway off-ramp in rural Oregon. We felt both lost and excited. It was time for an upgrade.

The first stop on our next road trip was Cabela’s camping section. Portable camping toilets are not only surprisingly pricey but also in high demand. 

It was mid-June and the selection was limited. We bought the Reliance Fold-to-Go. The whole thing folded flat and slid under the kids seat. I admit that this product and I got off on the wrong foot. I pinched my finger on its initial opening. It had three legs that needed to be unfolded and extended for use. If we were parked on a hill or using it on gravel, the toilet was tippy and unbalanced.

Picture a three year old on a three legged potty chair and you can imagine my feelings towards the Fold-to-Go. 

After much discussion and extensive consultation with strangers, we set our sights on the Luggable Loo. Once armed with our new Loo, we started the search for the perfect accessories. By accessories, I don’t mean toilet seat cushions or fancy toilet paper holders, I am referring to bags and powder. 

CD and I have half joked that future generations will be left with little plastic bags of dog poo time capsules. I wasn’t about to contribute to that situation. We jumped right into the world of biodegradable bags. 

These products aren’t terribly cheap and it is certainly in everyone’s best interest to use these products sparingly. With that being said, we also didn’t want to get stuck without a plan when the situation called for a plan! 

Some tips regarding biodegradable bags:

  • They breakdown if they are left in the sun, are wet, or are old. 
  • They work just as well as non-biodegradable bags
  • We use them because they work and we can tolerate ourselves better when using these than when using other bags 

Just to finish off the uncomfortable topic of camping toilets. Don’t forget the Poo Powder! Enjoy!

Child Carrier For Hiking: Our Recommendation

We have tried nearly every backpack child carrier on the market. Each one has pros and cons but mostly cons. My shoulders and back ache. Each one is bulky, awkward, and inconvenient to wear when the kids want to walk.

Then, one day we saw the <a href="http:// “>Piggyback Rider standing child carrier. In that moment our kid’s carrier hiking problems were solved!

Standing Child Carrier

Check it out!

Pros:

1. Kids like the Piggyback Rider Standing Child Carrier!

They feel engaged. We can talk to each other easily. They can see things, answer questions, ask questions, and feel more like a kid than a baby.

2. The Piggyback Rider Child Carrier is relaxing.

All of us can relax! My back and neck feel great. When they are young, there is a safety strap that prevents falling and when they are older, then can just hold onto the straps.

3. It packs small.

The Piggyback Rider stores either on a peg board in our garage or in our car. The size is minimal. It is light to carry and even the kids will carry it when we are not using it.

Piggyback Rider

4. The Piggyback Rider Child Carrier is easy to use.

Take it out of the carrying case and put it on. It is that simple. The safety strap is also easy to attach. Our kids hop on and off often in a single hike; the transition is quick and painless. Nobody cries.

Cons:

1. Price.

While just over $100, the price is in line with other similar hiking products.

2. The Piggyback Rider packs small.

It packs small enough that we have occasionally forgotten where we put it. This is really the our fault more than that of the carrier. I assure you that this never happens with a backpack carrier.

3. I sometimes get mud from shoes on my jacket.

This happens with every carrier and it is just part of going outside with kids I guess!

4. It doesn’t have the storage of backpack kids carriers.

I will gladly pack light, carry a shoulder bag, or do just about anything to avoid carrying a heavy backpack carrier, so this doesn’t bother me!

The Piggyback Rider Standing Child Carrier saved our hike many times. I envy their view from up there!

don’t forget your child carrier!

Disclosure: Please note that this post contains affiliate links. This means that we may get a small commission if you click a link and purchase something that we recommend. Clicking these links will not cost you extra money but will help us grow our website. Thank you for your support!

What is our favorite kid’s carrier for hiking?

Thankfully, we no longer need a full inventory of kids carriers. Due to having generous and adventurous friends, we have tried nearly every backpack kid carrier on the market.

It was too long ago for me to confidently compare and contrast each. I will say, however, that I never found one to love. I could take or leave any of them.

Three or four years ago we were out for a hike with the kids and came across a family with a standing child carrier. The parents looked so happy.

CD was inspired to build one. A few weeks later I got impatient and bought one. The kids are a bit big for it now and we have barely used it during the past year. For whatever reason, Grace asked to use it yesterday. So we did. It was great!

Check it out!

The Piggyback Rider Scout Carrier. The kids can see. My neck and back felt great! As long as the kiddo is awake, this is by far my favorite! Click on the pic above to find out more about the product.

Sprinter DIY
Sprinter DIY

Bring on a new year of Sprinter adventures. Sprinter DIY: Alsea Falls.

Today was a good day. We jumped in our Sprinter and headed out for a hike. A few minutes into the drive, HB said: “It feels good to be in the Sprinter.” I couldn’t have said it better myself!

Alsea Falls was our destination. It is on BLM land in the southern part of the Willamette Valley. The scenery is classic for this part of Oregon. The trees are covered with lichen and moss. The ground is covered in mud.

The falls are a short walk from the parking lot. We ended our hike there.
The picture is fuzzy but so was the woods. Sprinter DIY
We don’t go anywhere without our Inter-agency pass. No camping at the day use area but there were plenty of campsites all around.

It was raining and not all that warm. Twenty minutes into the drive, I realized that I had forgotten our jackets. CD packed rain jackets and pants for the kids and himself but couldn’t find mine.

When we parked and headed out for our hike, he offered me a beach towel to keep me dry. I typically would have laughed and declined but recently the kids have made a point to let me know that I embarrass them. Wrapping myself in a beach towel while hiking seemed like a perfect opportunity to really be ridiculous. They laughed at first but soon forgot about it. I was stuck carrying a beach towel for the next hour or so.

Classic Willamette Valley sign. The weather is tough on signs and bridges and benches and houses.

We headed towards Green Peak Falls. The trail was nice and easy to follow. There were plenty of other hikers ringing in 2020. We got side tracked to the river and through the woods a few times and this ended up being our turn around point.

Another classic sign for this part of Oregon.
An amazing long table, obviously made from a single tree.

It seemed like McBee Park may have seen better days. There were outhouses but all seemed to be in a state of dis-repair. I expect that by the time the rainy season is over, things will be looking better again. There were tons of BLM campsites along the river here.

Despite the nearly constant winter rain of the Willamette, I really prefer dry campsites. I may come back and camp here in the spring when the rains slows but wasn’t tempted to camp there today. These campsites are likely popular in the summer as they are on the river, huge, and easily accessible from the road.

Back at the Sprinter, we took off our boots and settled in to some snacks. The kids didn’t waste any time getting comfortable on the bed. CD was happy to use his new gadget. The Camp Chef Mountain Series Striker was tasked with the job of whipping up hot cocoa. I was so proud of CD for moving beyond his back packing mind- set and getting excited about such a luxury. It really was much faster and easier than boiling a pan of water on our camp stove! It was so fast that the kids even had two cups each.

It worked! The kids and CD were happy. I have a feeling there will be a lot more Ramen, Cup of Soup, and Hot Cocoa in my future!

The mom in me asked CD to stop refilling propane bottles. He picked these up and we are all happy for now. He is just humoring me until we decide to start carrying a much larger propane tank and cut out these less earth friendly items.

Just as we were about the fire up the Little Buddy Heater, another family stopped by to chat. They had a Sprinter 170 passenger van camping conversion. They were well beyond us regarding the extent of their conversion.

They admired our idea of putting the kids in the third row instead of the second and were going to do that themselves in the future. That was about all we had to offer them. They gave us tons of tips regarding exchanging windows to improve air flow, adding insulation, and even removing the rear AC to make space for a large solar panel. They personally knew many of the people that CD had already spoken with on the phone regarding modifications and supplies. They gave us their number and invited to stop by and see their Sprinter.

They validated our path with our Sprinter so far. They were able to share our vision and bring back the “fun” in the Sprinter DIY dream.

In talking to them we felt hopeful, inspired, and energized! With that, we head into 2020! Cheers!

Sleeping 4 in a Sprinter: Budget Friendly Guide.

Sleeping 4 in a Sprinter 144 is our challenge. I knew that it could be done but we wondered if we could do within our budget.

Starting points:

  1. We need two beds.
  2. Our budget is a consideration.
  3. We can’t sleep on the van floor because then we have to move everything.
  4. Sprinter camping should be fun!

Our Plan for Sleeping 4 in our Sprinter

CD came up with a plan. I didn’t see his vision. He resorted to talking with neighbors. A short time later, and to my surprise, we had storage boxes and two beds!

The Final Product: High Roof Sprinter 144 with 2 Beds.

  1. The first bed is a fixed structure behind the third seat. It has storage underneath.
  2. Two mattresses are stored on the first bed during the day. One mattress was custom cut. The mattress measurements are as follows.

Bed #1: 54 x 72

Bed #2: 48 x 68

3. We remove the second and fourth rows and leave the third row in place.

4. Bed #2 gets built in front of the third row as needed.

5. Wooden storage cabinets are secured behind the driver’s and passenger’s seats. These are constructed in such a way as to support bed #2.

6. Bed #2’s platform pieces are stored next to the third seat. Directions to construct are below.

7. The second mattress gets pulled down from the first bed and placed on the newly constructed second bed.

To construct the Bed #2, follow these steps:

  1. Piece 1 goes under our cooler to add height to the cooler and allow it to be part of the support system.
  2. The next piece is a bridge between the two fixed storage boxes.
  3. Piece 3 is a 2 x 4 that pulls forward and attaches on the passenger side storage box.
  4. The final piece is a hinged piece that opens and covers the remaining space. It is supported by the storage box edges and the 2 x 4.

10 Reasons We Love Our Two Beds

  1. The total price tag was under $500. This includes two mattress, one of which was custom cut.
  2. Bed #2 is elevated off of the floor so that shoes and other items can be stored underneath.
  3. There was a steep but short assembly learning curve. We are quite proficient at assembly and can even assemble with the kids asleep in their seats.
  4. We can sleep two people per bed and not feel crowded.
  5. The mattresses are comfortable.
  6. Our <a href="http://Reliance Products 9881-03 Luggable Loo Snap-on Toilet Seat with Lid for 5-Gallon Bucket, Black, 13.0 Inch x 1.5 Inch x 14.0 Inch""“>luggable loo is easy to access.
  7. Our cooler is helpful rather than in the way.
  8. I can sleep head to toe or side to side. CD is a bit more limited in his choices, however.
  9. We can assemble the second bed in under 10 minutes and without stepping foot outside the van or opening the door. This is amazing news during a downpour.
  10. We wake up well rested!

Our Inaugural Sprinter Van, Sleeping 4 Conversion

We drove 8528 miles with a trip timer of 190 hours, 55 minutes and we slept at campgrounds, friends’ driveways, gas stations, Walmart, rest areas, and parks. No matter where we slept, we woke up well rested and ready to go!

CD’s second bed conversion is pure genius as far as I am concerned.

Sleeping 4 in a 144 and how it can be done! Sprinter van conversions can be fun, too
Advertisements
Advertisements
Advertisements

Please follow our blog for other Sprinter family adventures!

https://ramblingfootsteps.travel.blog/2019/12/11/sprinter-shopping-list-stocking-stuffer-edition/ https://atomic-temporary-169313545.wpcomstaging.com/2019/11/28/sleeping-bear-dunes-bike-swim-repeat/
Advertisements

Part II: We went on a road trip without the Sprinter and …

We went on a road trip without the Sprinter and it was enlightening.

We drove from Oregon to Big White to Whistler and back.

Would the Sprinter have made it? Yes.

Would I have been nervous? Maybe. Abbotsford to Kelowna on the way there was dark and snowy. Visibility wasn’t great. I was a bit nervous anyway. The Sprinter would have done fine.

What was it like traveling in a minivan again?

  • Dramatic. With two kids that have been spoiled by The Luggable Loo, this was a good reminder that most people think ahead when traveling. On several occasions, we drove five miles away from a gas station or restaurant to hear Grace say: “I have to go potty”! Her usual announcement goes like this: “I have to go. Its an emergency. I have to go in 10, 9, 8, 7, 6, 5, 4, …”
  • Combative. The kids feet and arms could reach each other. Enough said.
  • Wet. We didn’t have anywhere to hang our clothesline.
  • Cross fit for an out-of-shape mom. I pick up a kid while CD pulls the boots off, puts snow pants on, and puts the boots back on. Repeat.
  • Spendy and Gluttonous. Snacks started out fine but after ten days on the road, the food situation regressed. Here is the common scenario: The kids are desperately hungry and can’t possibly wait to eat. None of the available snacks are acceptable. We look for restaurants. We don’t have cell service or chose not to use cellular data. We drive around. We find one but it is just a brewery with frozen pizzas. We drive around more. We find another one. We run in and order $40 worth of food. The kids color in coloring books. We ask them to eat. They get up and walk around the table. We tell them to eat. They eat two bites each. CD and I eat two meals each. We get in the car. The kids say they are hungry. They eat popcorn. *Repeat every 2-4 hours.
“The Zephyr” in Squamish. CD and I ate a Zephyr salad, a bowl of veggie chili, a cup of Mexican Chicken soup, a falafel wrap, and a bunch of corn chips. It was good. It may be worth mentioning that this was a bit after brunch where CD and I ate 2 eggs, sausage, bacon, toast, 2 orders of hashbrowns, and eggs benny. The kids ate popcorn in the car.
  • Confusing. I couldn’t find anything in the back seat or front seat. CD was in charge of the back door and seemed to keep everything in its place. The kids and I didn’t do as well.
I should be too embarrassed to post this but just in case anyone feels like their car is a mess, this should help you feel better! Here is the scene in our back seat as we rolled back into Oregon. Yikes!

CD’s take on the situation: “20 days on the road comes much sooner in a mini-van than a Sprinter”. Shortly after CD said this, the mini-van alert popped up and asked: “Would you like to take a break?” Ha!

Advice? Get a 4 x 4 Sprinter if you can. If not, stay true to your rear wheel drive Sprinter. Invest in good winter tires, be flexible with your schedule, and stay committed to #vanlife.

If you have to take your mini-van, stay positive. Its not that bad. In fact, it is probably helpful in providing perspective and reminding everyone how to wait patiently while looking for a restaurant, a hotel, or a potty.