5 Tips for Starting Your Sprinter Camper Make-Over.

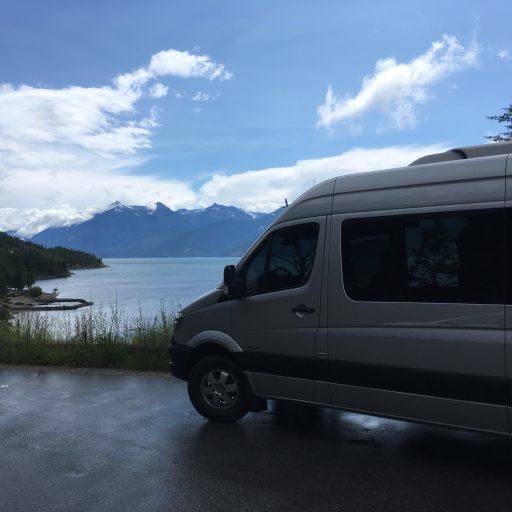
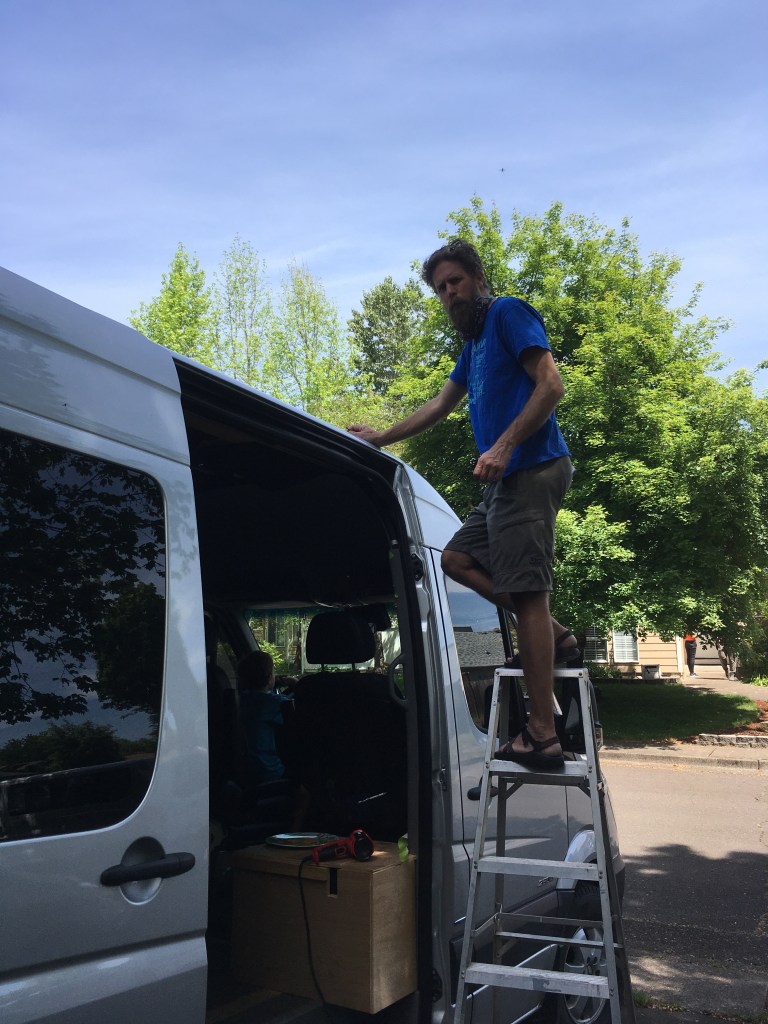
We have been home since mid-March. Our pandemic projects include sour dough bread making, teaching home school, and continuing work on our Sprinter camper. CD’s progress with the Sprinter has been the most successful of the three.

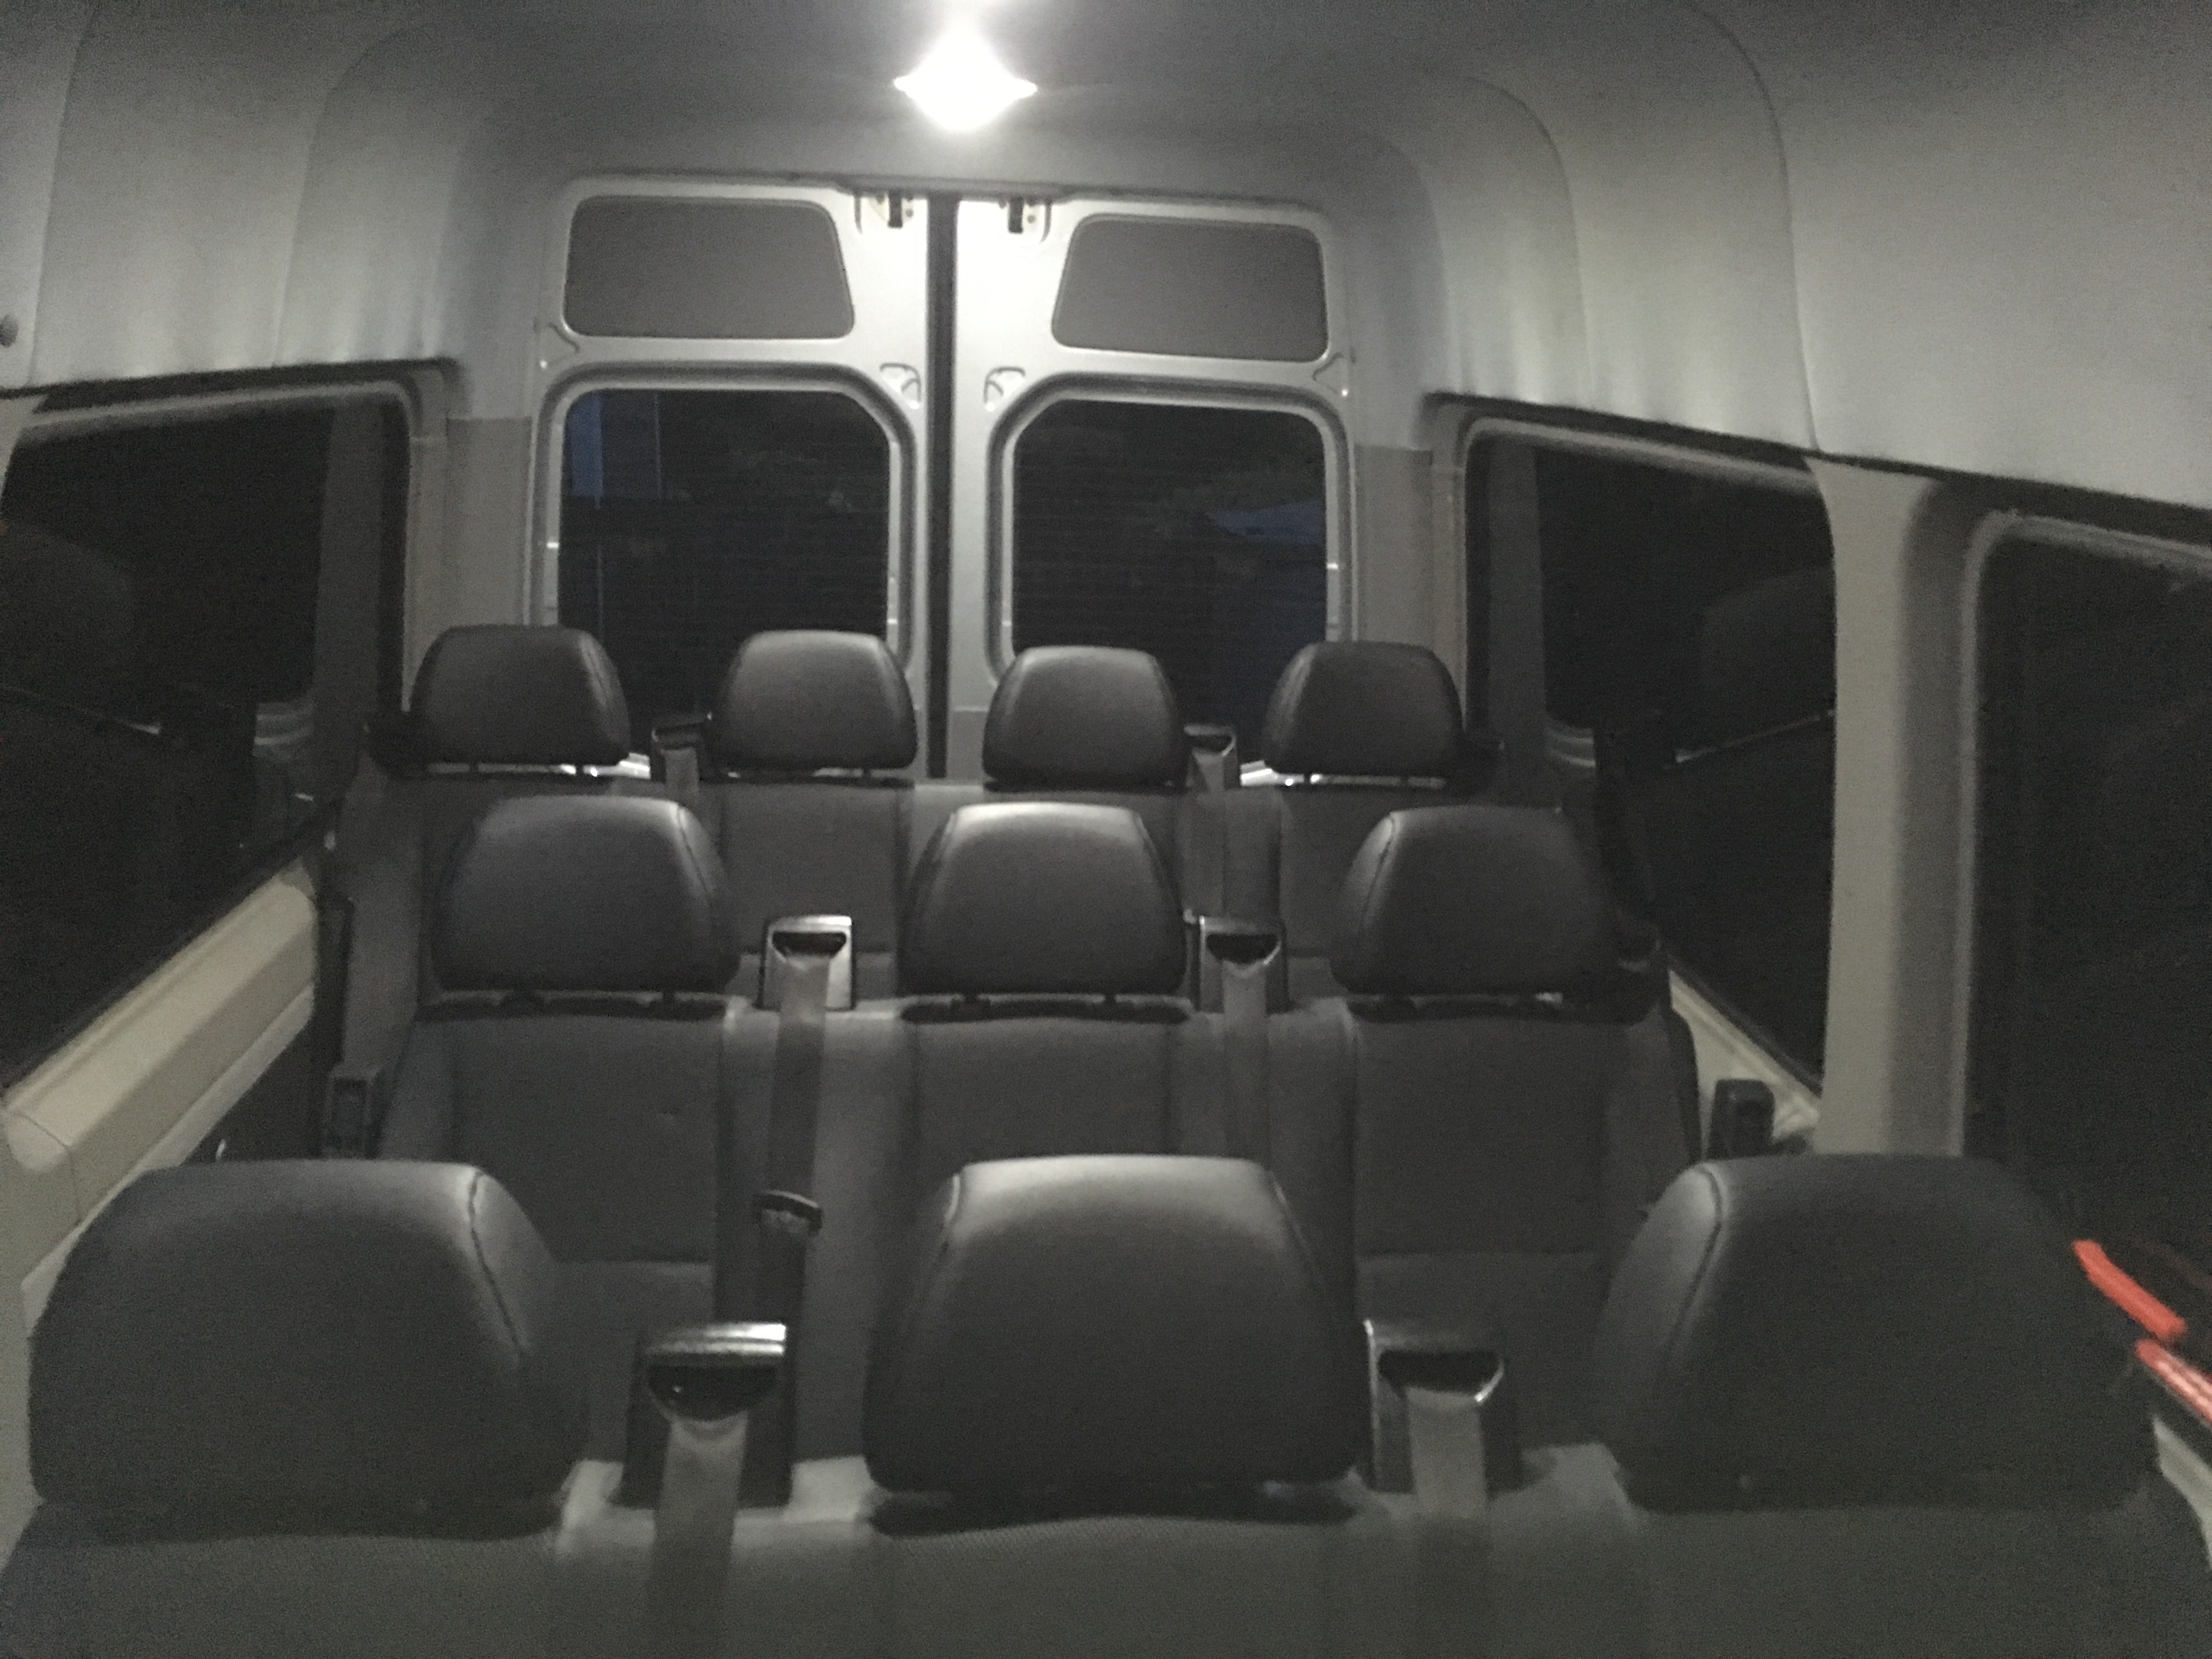
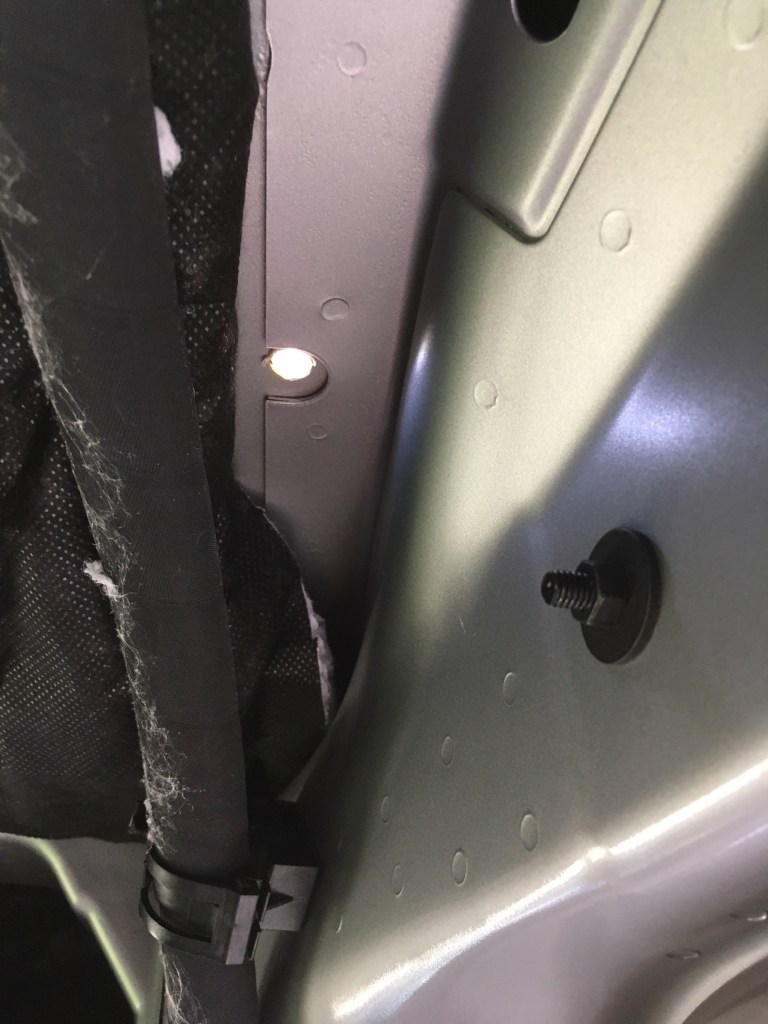
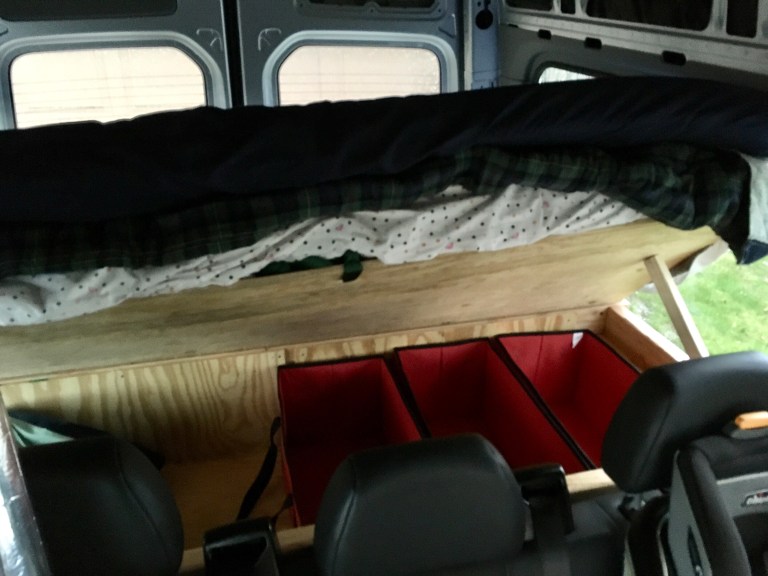
Roof rails are installed, LED lights are wired to a dimmer switch, cedar tongue and groove is in place, and two new cabinets are ready to be filled.

Writing guides for each of this projects will take a me a bit of time but while I work on that, CD offered his top 5 tips for our diving into a Sprinter camper project.

Sneak peek! I can’t wait to share more.

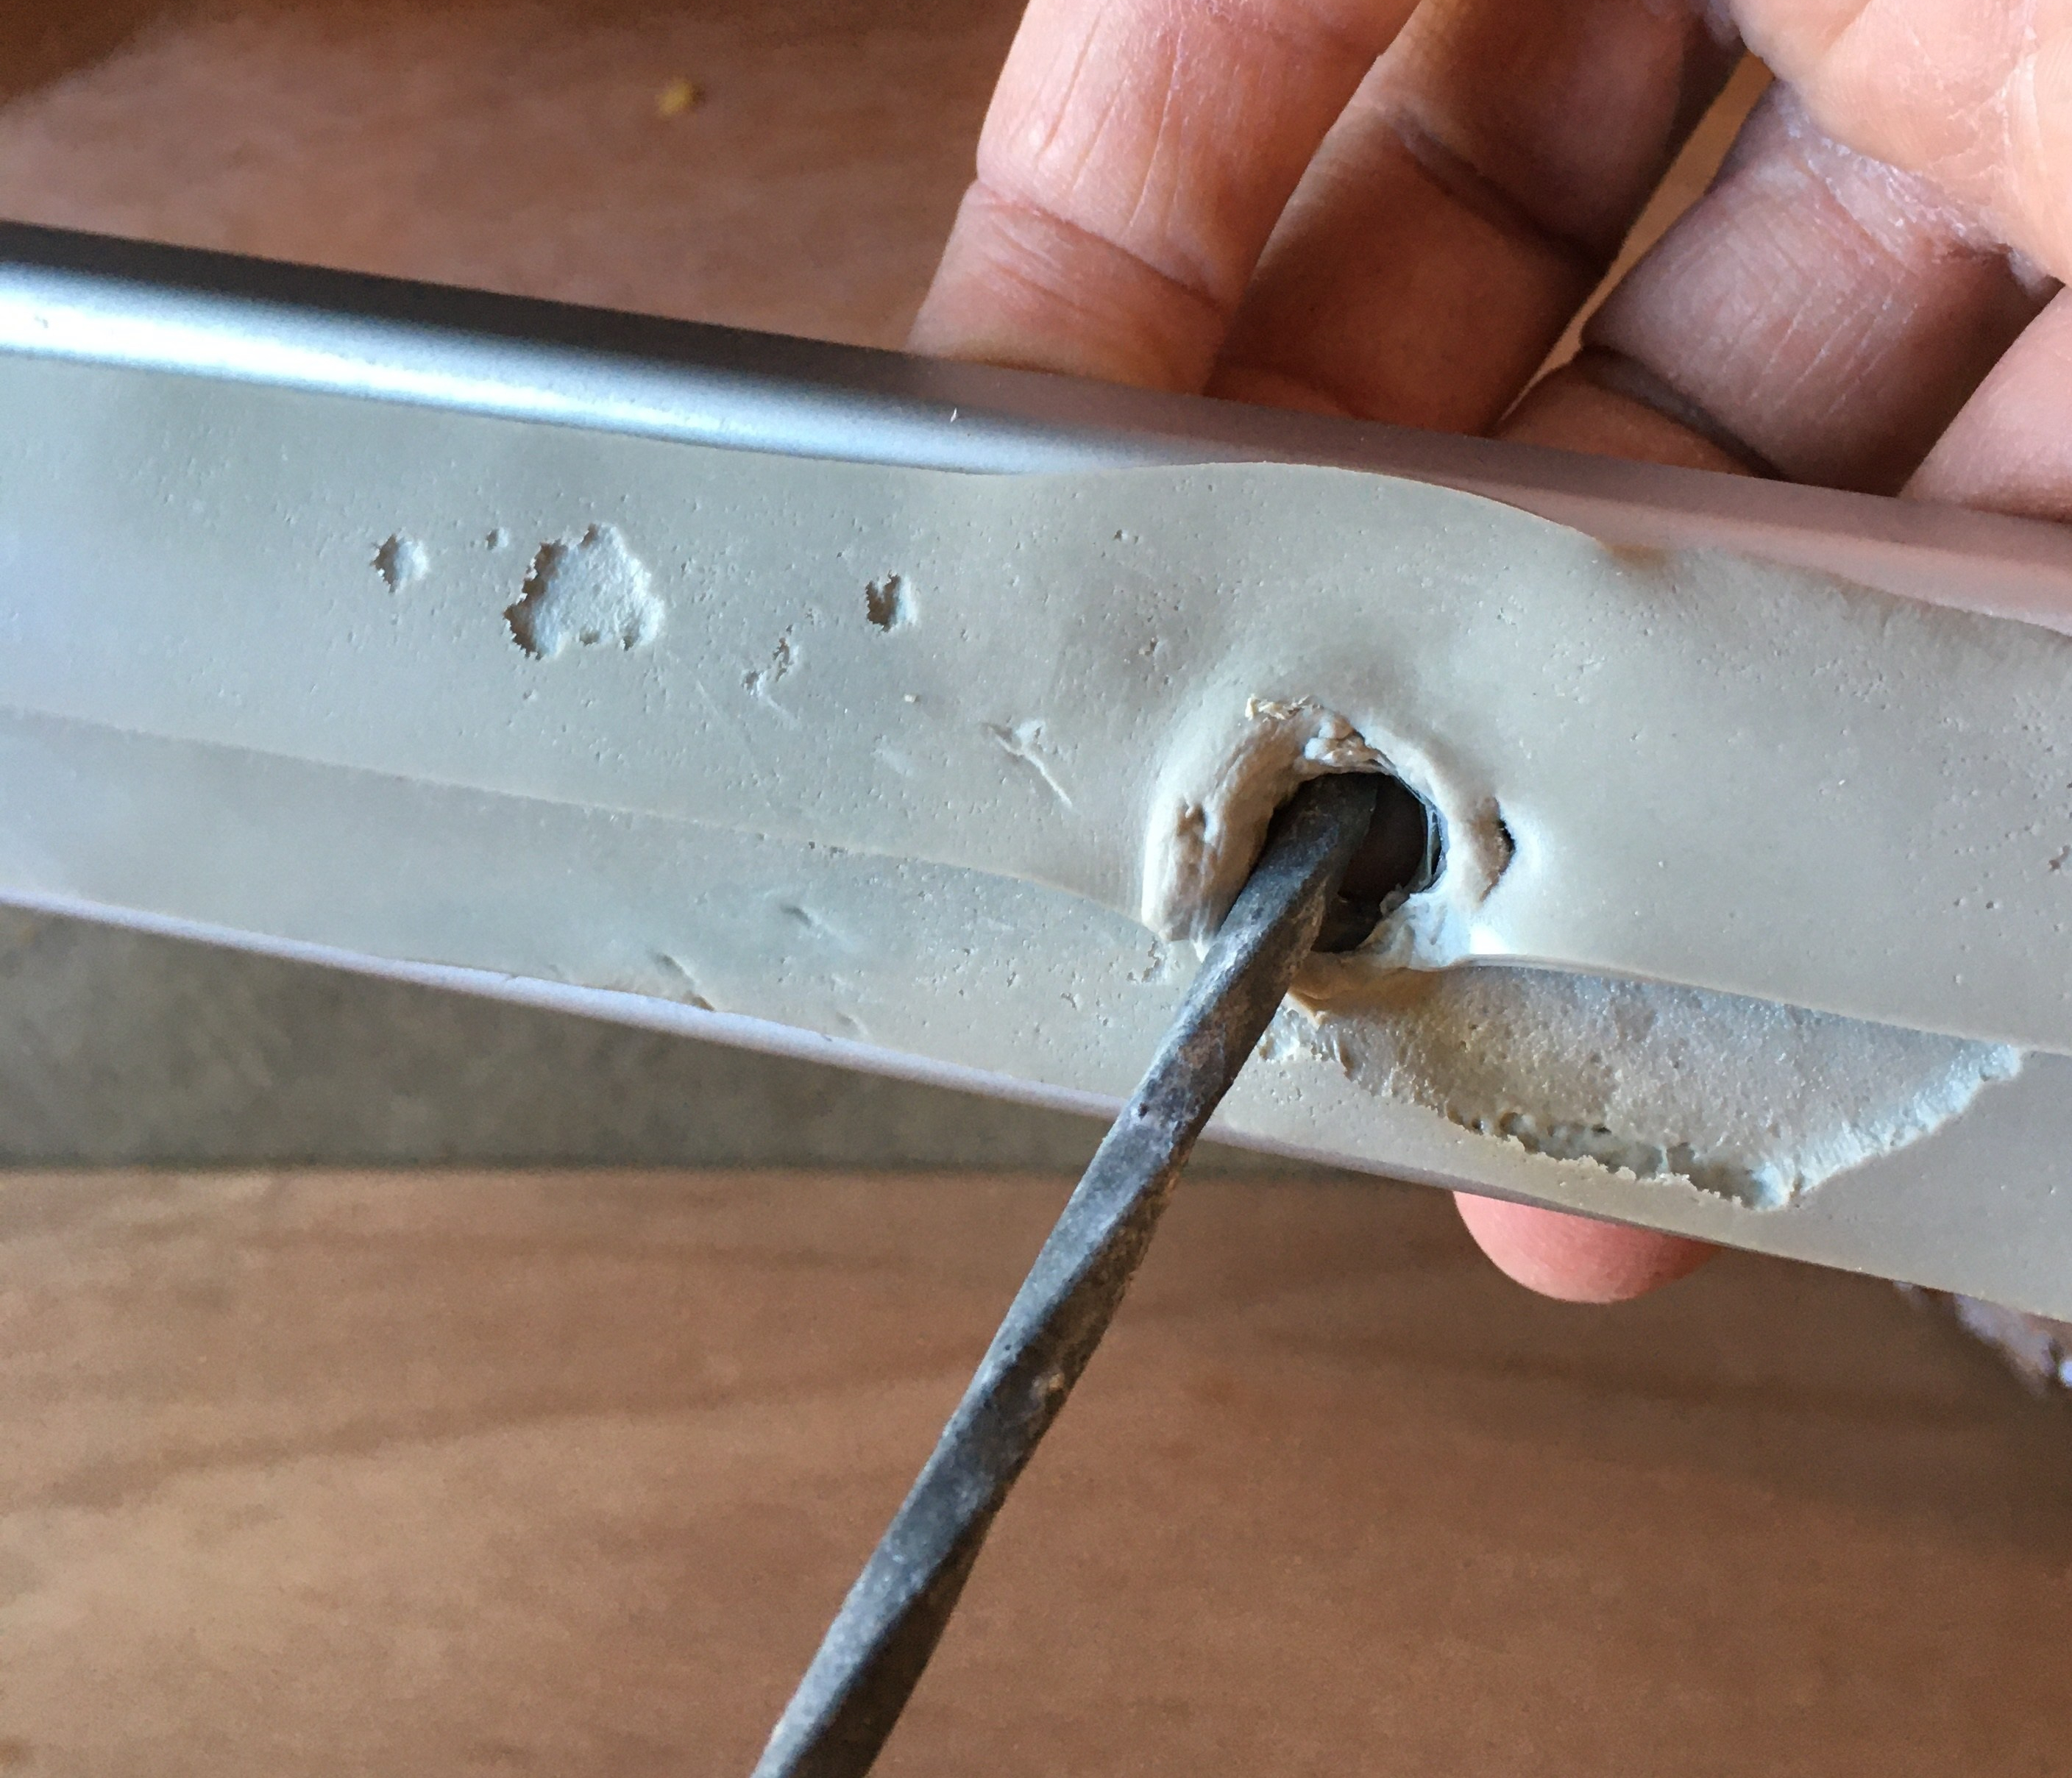
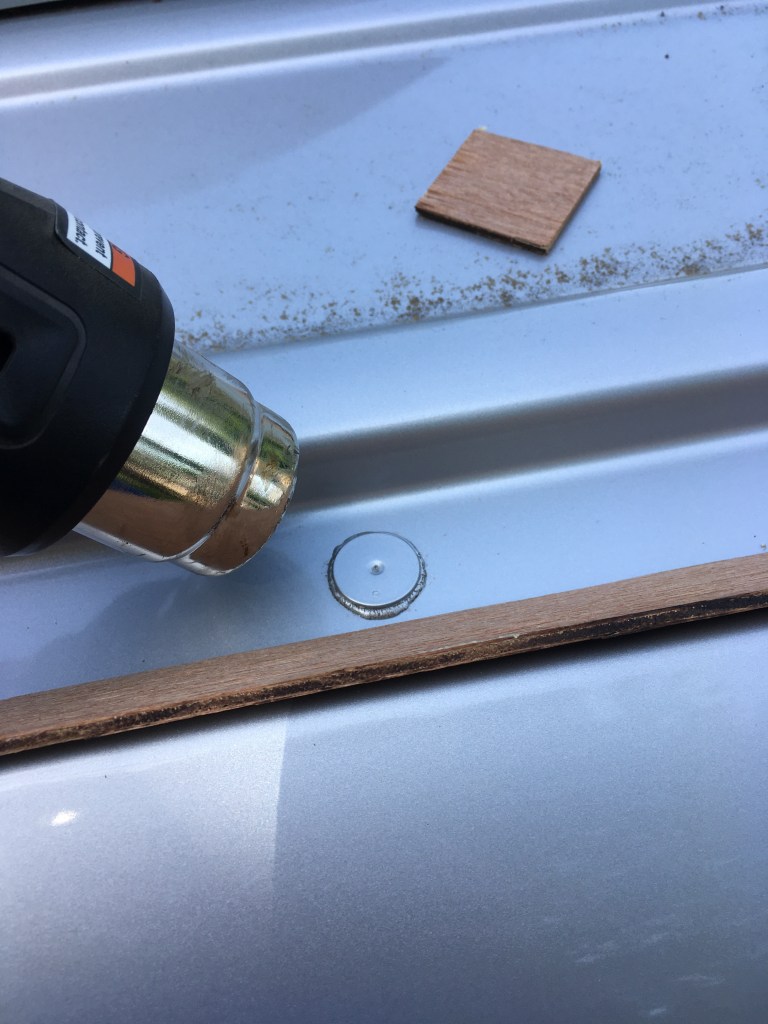
1. Accept gaps in wood spacing or make custom pieces.

CD chose to custom cut each piece of wood. Time was not of the essence.

2. Realize that your Sprinter is not square.

No matter how square things start out, your van is not square.

3. Create things with wiggle room.

Plan on fine adjustments and be flexible.

4. Consider both your ideal end product and your acceptable end product.

Decide which of these you are working towards.

5. Be honest about your timelines.

Realize that your acceptable product will likely take as long you thought your ideal product would. Set out to make your ideal product and you may end up with your good enough one. If you are set on your ideal product, plan to increase your time spent ten fold and have plenty of extra wood on hand.

Have Fun With Your Sprinter Camper!

Please sign up for our blog to track for step by step guides and share in the fun!

https://ramblingfootsteps.travel.blog/2020/05/23/sprinter-roof-rails-self-installation-12-easy-steps/ https://ramblingfootsteps.travel.blog/2019/12/11/sprinter-shopping-list-stocking-stuffer-edition/ https://ramblingfootsteps.travel.blog/2020/03/26/not-your-average-dresser/ https://ramblingfootsteps.travel.blog/2019/12/14/sprinter-diy-low-roof-vs-high-roof/
Advertisements
Advertisements

Here is great source for van campers! Check it out!

DIY Promaster Camper Conversion Guide – Part I

Sprinter Camper Conversion: Amenities

Our first Sprinter camper conversion was a 2012 low roof passenger van with limited amenities. It didn’t work out.

We are a family of four and stand by our decision to camp and travel in a passenger van but our decision to start with a low roof van was ill informed and flawed.

5 reasons why we chose a low roof Sprinter:

  1. It would be a more practical daily driver.
  2. We could drive under bridges, park in parking garages, or go through a drive thru.
  3. Additional vertical space wouldn’t offer additional benefits.
  4. The kids can stand up and I can nearly stand up.
  5. It cost less.

5 reasons why this reasoning was flawed:

  1. A low roof and a high roof are essentially the same when using as a daily driver.
  2. Parking in a parking garage, going through a drive thru, or driving under some bridges may not be possible in either Sprinter.
  3. Vertical space adds many more storage options!
  4. I really want to stand up. Oh, my aching back!
  5. The low roof initially cost less but we lost any initial savings when we sold it four months later.

All about us.

  • We are a family of four, including two kids under 10.
  • More days are spent driving than camping.
  • We love windows!
  • CD is 6′ tall and I am 5’8″. We are both over 40 and maybe not as flexible as we once were.
  • Sometimes we stop along the road just to hang out in the van.
  • Money is a consideration but we would rather spend a bit more to have a van that suits us than have an aching back and a cluttered van.
Our high roof Sprinter with some fun amenities.
Advertisements
Advertisements

Passenger Van: Pros and Cons

Pros:

Windows!

  • The kids can see.
  • Improved visual field when driving.
  • We can see if the kids are in the van from outside.
  • Sunsets!

Cons:

Windows.

  • People can see in from outside. It doesn’t bother me really but it is worth being aware.
  • We spent a few hours and a little money making curtains. Each day we spend a little time putting up and taking down curtains.

Seats

  • Safe seats for the kids.
  • Seats for family members and friends.

Seats

  • Spare seats take up garage space.
  • The spare seats are not easily removed and re-installed.
Sprinter amenities. Seats anyone?

Other Sprinter Amenities: Blind Spot Monitor, Electric Running Board, and Cross Wind Assist

These are things that our first van did not have. Do we enjoy these features?

Yes!

Blind spot monitor: changes my experience every day!

Electric running board: a bench, a welcome mat, a table, and a reminder to close the door fully.

Cross wind assist: We think it actually helps.

Thoughts on rear AC.

Rear AC: It cools the van to arctic temperatures, even on the hottest days. Luckily, it cools all the way to the front as the main AC isn’t very effective. I sometimes walk to the back and realize that the kids need blankets while I am just right. We debate its importance each time we look at solar panels for our roof but then re-affirm our need for it each summer. Our solar panels will work around it and our Maxxair fan fit just fine.

Please follow our blog and our Sprinter adventures!

Sprinter Roof Rails Self Installation: 12 Easy Steps.
How do you know when family van life has gone off the rails?

For other insight on choosing a van, check out this article!

What Is The Best Vehicle To Live In?

Sprinter Roof Rails Self Installation: 12 Easy Steps.

Disclosure: Please note that this post contains affiliate links. This means that we may get a small commission if you click a link and purchase something that we recommend. Clicking these links will not cost you extra money but will help us grow our website. Thank you for your support!

Are you looking for a DIY alternative to Sprinter factory roof rails? If so, we can help.

Check out our step by step guide to self installation of roof rails in your Sprinter camper. Enjoy!

Supplies:

  • Part no. 1575 from 8020.net (for the roof rails themselves)
  • Heat gun, rented from local hardware store
  • Round file
  • 5/16″ counter sink bit
  • Drill Press, borrowed from a neighbor
  • 5/16″-18 flat head bolts, 1 inch long
  • 5/16″-18 nuts
  • 5/16″ Fender washers
  • 5/16″ Lock washers
  • Loctite
  • 3 in 1 oil
  • Butyl tape
  • Ladder
  • Safety glasses

Total cost in 2020 was under $150 (excluding items we already had or borrowed)

Step 1

Make a jig for using with the drill press.

This is dependent on the drill press or equipment that you are using. I do not claim to be an expert on this but here is a picture of what we used.

Notice that the green tape and block dots are for alignment and so that if I remove the jig, I can put it back in the same spot.
Jig for drill press

Step 2

Place the 8020 on its side on top of the van and mark the 8020 at the center of each plug.

We used a mechanical pencil in order to have a very specific line for reference.

Step 3

Use 3 in 1 oil to lubricate each drill site on the 8020.

Step 4

Align 8020 in the jig and drill it at each line.

Consider looking in your drill manual in order to set it to the correct speed.

Step 5

Check the weather report for rain. If the weather looks promising prepare the 8020 and get ready to remove the plugs from the roof.

Step 6

Use the heat gun to soften the glue and remove the plugs one by one.

A second person can help by pushing the plugs from inside the van. Be aware that the plugs and surrounding metal will be hot!

Heat gun removing plugs from roof
Plug from roof
Hole from roof plug

Step 7

Clean the roof but be aware that by the time you get up there with the 8020, it will be dusty again!

Step 8

Dry fit the 8020 and bolts on the Sprinter roof.

Use a round file if fine adjustments are needed.

Step 9

Line the 8020 with butyl tape. Be aware that the front and back of van have a slight curvature so you may need to double layer the butyl tape at the ends.

Additionally, be aware that your local hardware store may try to substitute putty for butyl tape. Stick with real butyl tape. There is a huge difference!

We ended up ordering more butyl tape online and waiting two days with holes in our roof because we ran out and could only get putty tape locally. This was less than ideal!

Step 10

Using butyl tape, line the 5/16-18 screws and the 8020 drill holes in order to fill any potential gaps during installation.

Sprinter roof rails
Butyl tape on 8020 roof rails

Step 11

With the 8020 on the roof, poke a hole through the butyl tape with a nail.

roof rail DIY

Step 12: Sprinter Roof Rails

Apply bolts and hardware and tighten. A second person may help by holding the hardware from the inside of the van.

working on the sprinter camping conversion

Sprinter Roof Rails, Installation Complete!

Congratulate yourself on another Sprinter DIY project complete!

Please follow our blog for other Sprinter tips and adventures!

Sprinter Camping Shopping List: Stocking Stuffers. Sprinter DIY
Sleeping 4 in a Sprinter 144. Sprinter DIY camping conversion.
What exactly is stored under the kids seats?
Child Carrier For Hiking: Our Recommendation
Advertisements
Advertisements

For further tips on installation we found the following blog helpful, as well.

How to Install Roof Rails to Your Sprinter Van

Sprinter Roof Rails Self Installation Considerations.

We are half way through our roof rail installation. It was two steps forward, one step back all day.

Things that worked:

  1. The heat gun. We rented a heat gun and the plugs popped right out. The glue warmed up and wiped right off. The heat gun was worth it!
Sprinter camping conversion
#vanlife

Things that we learned:

  1. 1 inch bolts are better than 3/4 inch. Our bolts were 3/4 inch and they were too short. The hardware store only had eight 1 inch bolts this afternoon. It was enough to secure the racks and cover the holes but we obviously need more bolts.
  2. Butyl tape is better than putty tape. We didn’t have enough Butyl tape to do the job. The hardware store convinced us to try putty tape and we decided that the Butyl tape was better and worth a wait. We had gotten some Butyl tape from DIYvan.com in Hood River and will contact them for more.
#vanlife

PCT – Packing List: Throwback Travel Journal

Hikers load up on supplies at Kennedy Meadows to head into the higher mountain passes. Once down the other side, unloading and re-packing again is common. CD was kind enough to record his supply list from his stop at Pooh Corner, Donner Summit, north of Lake Tahoe.

Here is the list!

Backpack: Granite Gear Ozone (please remember this was 2004). It weighed 3 lbs, as compared to the 2 lbs packs that most people carried. The weight was a trade off for having a frame and increased comfort.

Sleeping bag: EMS Mountain Light 20 degree bag, down. 2 lbs.

Bag liner: Coolmax, 9 oz. A 6-7 oz silk liner was more common among the group

Z-rest full length: Most hikers used 3/4 lengths but for the couple of extra ounces CD chose warm and comfortable feet

Evernew Titanium pot, 1.3 L: The trail standard in 2004

Stove

3 pair of socks: CD alternated between 2 different pair of bike socks while hiking and had a separate pair of camp socks. He insists on separate sleeping socks when we camp as well and it really is much better!

Wind shirt: Marmot DriClime

Rain jacket: Marmot PreCip

Convertible pants: Mountain Hardware. CD still has these. The shorts faded so much that when he puts the pieces together it looks like he is wearing shorts over different pants.

Tee shirt: Techwick

Hat: fleece

Gloves

Sunglasses

Sunscreen

AquaMira water treatment

Chapstick

Burt’s Bees Res-Q ointment

Picture of family

Permit

Safety Pins

Needle and thread: He had recently used to fix his pack after he fell off the trail while looking through his camera

Compass: CD said he never used it but felt it was important to have handy

Headlamp

Toothbrush and toothpaste

Spoon and fork: Apparently most people didn’t carry a fork but CD found it helpful for hard ice cream. Was this before the invention of the spork?

Tyvek: ground cloth, 5 oz

Tarp Tent: two person model. Floorless, ~2 lbs.

A Book: People’s History of the US, by Howard Zinn: broken into sections and mailed along in bounce boxes

Teachings of the Buddha, pocket guide

Trail Guide: broken into sections and mailed along but CD wrote that he often ended up with the wrong section. “I accidentally sent the Echo Resort to I-80 section to Pooh corner” … and so on.

Data book: The quick reference guide, broken into sections

Bug repellent. This was a new addition to the pack

Ursack Bear Bag: replaced bear canister at this point and was mainly for keeping out rodents. 9 oz.

Dromlite 6 liter water bag: overkill size wise here but was needed in the desert.

Nalgene: 16 oz. Mostly for dipping water and mixing drinks

Gauze, duct tape, hand trowel (for digging holes to use the restroom), hand sanitizer, ibuprofen.

Camp Sandals: 3 oz


Things that were left or replaced at this point on the trail:

Bear Canister (replaced with Ursack Bear Bag). Chaco sandals (they needed to be re-soled). Heavy long underwear. Ice axe. Crampons.

Storage In Our Sprinter: A simple solution

Disclosure: Please note that this post contains affiliate links. This means that we may get a small commission if you click a link and purchase something that we recommend. Clicking these links will not cost you extra money but will help us grow our website. Thank you for your support!

We tried suitcases, duffel bags, and plastic tubs but none of these solved our family of four’s Sprinter storage problem.

What Is Our Priority?

Easy and fast access to clothing and daily use items.

Where Did We Find Extra Storage In Our Sprinter?

Under a bed with a hinge.

Our bed has a hinge and folds up from the front.

It is then be held open by two pieces of wood.

Sprinter Storage under our bed. Easy to access, organized. I love it!

What Is Inside The Space?

Typically there are four red bins and two square black bins. We get one red bin each.

Four red bins hold our clothes, everything from socks to sweatshirts.

Two square black bins are there as well. One hold toiletries and the other holds a bag full of dirty laundry.

Past the black bins in an open space that hold our curtains and two blankets. Our curtains go up each night when we put away our toothbrushes and go back to storage each morning after we change our clothes.

Follow our blog for more tips and family Sprinter adventures. Have fun out there!

https://ramblingfootsteps.travel.blog/2020/01/02/sleeping-4-in-a-sprinter-144-sprinter-diy-camping-conversion/ https://atomic-temporary-169313545.wpcomstaging.com/2019/12/11/sprinter-shopping-list-stocking-stuffer-edition/

For more ideas check out this post!

11 Camper Van Bed Designs For Your Next Van Build

Not your average dresser.

We tried suitcases, duffel bags, and plastic tubs. None of these solved our family of four’s clothing organization problem.

Along with our second van came a second chance to improve our clothing work flow. The priority was easy clothing access for two children and two adults.
CD came up with a plan and put it into action. It worked! I couldn’t be happier.

It is simple. The bed has a hinge and folds up from the front. Two pieces of wood hold it in place. We each have a sturdy cloth basket full of clothes. Additional space is filled by the curtains to one end and a dirty clothes box to the other. Even the kids can lift the bed up to reach inside. I stand in front of the seat and prop the bed up until everyone is dressed and ready for the day. This was a simple change that made a huge difference in our lives!

Sprinter DIY. The bed is folded up and held up with wood. We each have a red bin for clothes. It is amazing!
Sprinter DIY

Just a reminder that we use affiliate marketing. Feel free to click away. We love these!

Ceiling,Cabinets, and Social Distancing updates

St. Patrick’s day is my favorite holiday. I avoided working this day for at least the first ten years of my career. I celebrated with hiking and skiing followed by apres hiking and skiing. More recently, I have hosted St. Patrick’s day picnics. Last year’s was complete with a casual Irish music session, kids Easter egg hunt, and plenty of Guinness.

We planned ahead this year and picked up a few cases of Guinness. Now we may be among a small group of people that currently have a bigger supply of Guinness than toilet paper.

CD and the kids embraced the holiday by delivering Guinness and paper shamrocks to friends’ and neighbors’ porches.

The Sprinter project is making slow but steady progress. CD offered me a guided tour. He also offered to write the following update.

Per CD:

After reading Sprinter-forum obsessively and debating every detail, I ordered t-slot aluminum for the rails. The rails will be used to mount the cabinets. The ceiling will be split into multiple sections. The panels will be removable so that solar can be added if needed. I am non-committal, so locking myself in by ordering materials was a big step.

I took an even bigger leap when I drilled holes in the ceiling ribs for the first series of rivnuts. I did most of them yesterday but one more today, which required temporarily displacing the hoses for the rear A/C unit. I thought it might make a useful video, so Molly took some footage so I could hold hoses and drill at the same time.

As it turned out, drilling out the rivnut wasn’t nearly as effective as shearing off the flange with an old chisel and hammer. The rivnut started to spin after being drilled a bit, making the drilling no longer an option but only a source of high-pitched squealing.

I spent a fair amount of time fishing insulation through the smaller bits of the van recently and this made it much easier to get the half of the rivnut that was left inside the beam. It probably would’ve been even more useful if I had just taped a piece of string to it so I could have just pulled it out after it was free.

I also recommend (per a comment on Sprinter-Forum) using a neodymium magnet to catch the shavings as you drill holes. It’s significantly decreases the mess. I placed one next to the drill bit on most of holes and it caught a most all the shavings.

In any case, progress is being made. Video and pictures to follow.

Stay home. Stay healthy. Slainte.

Sprinter Conversion: Back at it.

CD decided its time for insulation. I was so happy that I drove to Hood River to pick up Thinsulate. If you are anywhere near Hood River we recommend heading over to DIY Van. They are the best!

Here is a short picture documentary of the insulation project.

Removing the head liner.
Putting in the insulation and getting into every crack.
More insulation stuffing.

For our 144 passenger van, we purchased 39 linear feet of insulation. CD is not quite done yet but agrees that we have about the right amount. Our only other expense was a new pair of scissors.

While CD was busy wrestling Thinsulate, the kids and their friends practiced their camping skills. As you can see, they are ready!

What exactly is stored under the kids seats?

We removed the second row in our Sprinter but left the third. The kids sit there.

So, what did we keep under their seats when we traveled last summer?

These are just the right size for under the back seat.

Under Grace’s seat we kept two collapsible canvas bins. The first one pushed back so that the second one would fit as well.

The first one had six swimsuits and two pair of goggles.

This may seem like an odd choice but we have been to splash pads in nearly every State and Province that we have driven through. I even had an idea to make a splash pad locator app for parents traveling with kids. I didn’t follow through when I realized that other parents may not be as excited about having wet kids in the car on and off day after day. In any case, it didn’t take long for us to see the benefits of accessible kids swimwear.

The Sprinter acts as a mobile changing room. When they are motivated by a splash pad, the kids can get their suits on in under two minutes flat. After the fun, they can just slip their clothes back on and hang the wet suits on our make shift Sprinter clothes line.

One of the earlier ones. A good example of why we pack readily accessible swimwear. This was more of a fountain that a splash pad and not too many people in Aspen were into playing there. We liked it! Sprinter DIY
Passing through Salt Lake City on a super hot day. Sprinter DIY

The second bin contained sunscreen and towels.

The middle row held the trash can. CD made it out of re-purposed heavy duty cardboard. It was just the right size and height.

There were also two bins under HB’s seat. The bin farthest back contained playing cards, dice, and travel board games. I added Racko to the mix last year but the kids lost interest once they found out that it was my favorite.

The second bin had a mix of drawing pads, notebooks, pencils, and pens. These got a fair amount of use both on the road and when we were stopped. HB made a fairly elaborate picture journal on our way out of Yellowstone last year.

In true CD style, all of the bins and the garbage can were held in place by a bungee cord and 3 mm accessory cord. They never slid forward when we braked so I guess this technique worked.

We will definitely continue to use the bins and garbage can but I imagine that the contents will evolve over time. I hope we stick with swimsuits and towels. Prioritizing such non-practical items just seems like a sign of a family that is out for a spontaneous and carefree good time!

Since my splash pad app never took off, here is non-comprehensive list of great splash pads we have found.

  • North Carolina (Ashville)
  • Florida (Marco Island)
  • Minnesota (Sauk Centre)
  • Ontario (Wiarton, Grand Bend, Bayfield, Port Elgin)
  • Michigan (Millennium Park; Sparta)
  • Colorado (Aspen)
  • Oregon (Corvallis)
  • British Columbia (Kelowna)
  • Alberta
  • Utah (Salt Lake City)