Cranbrook BC: Stop and Enjoy. 5 Things to Love.

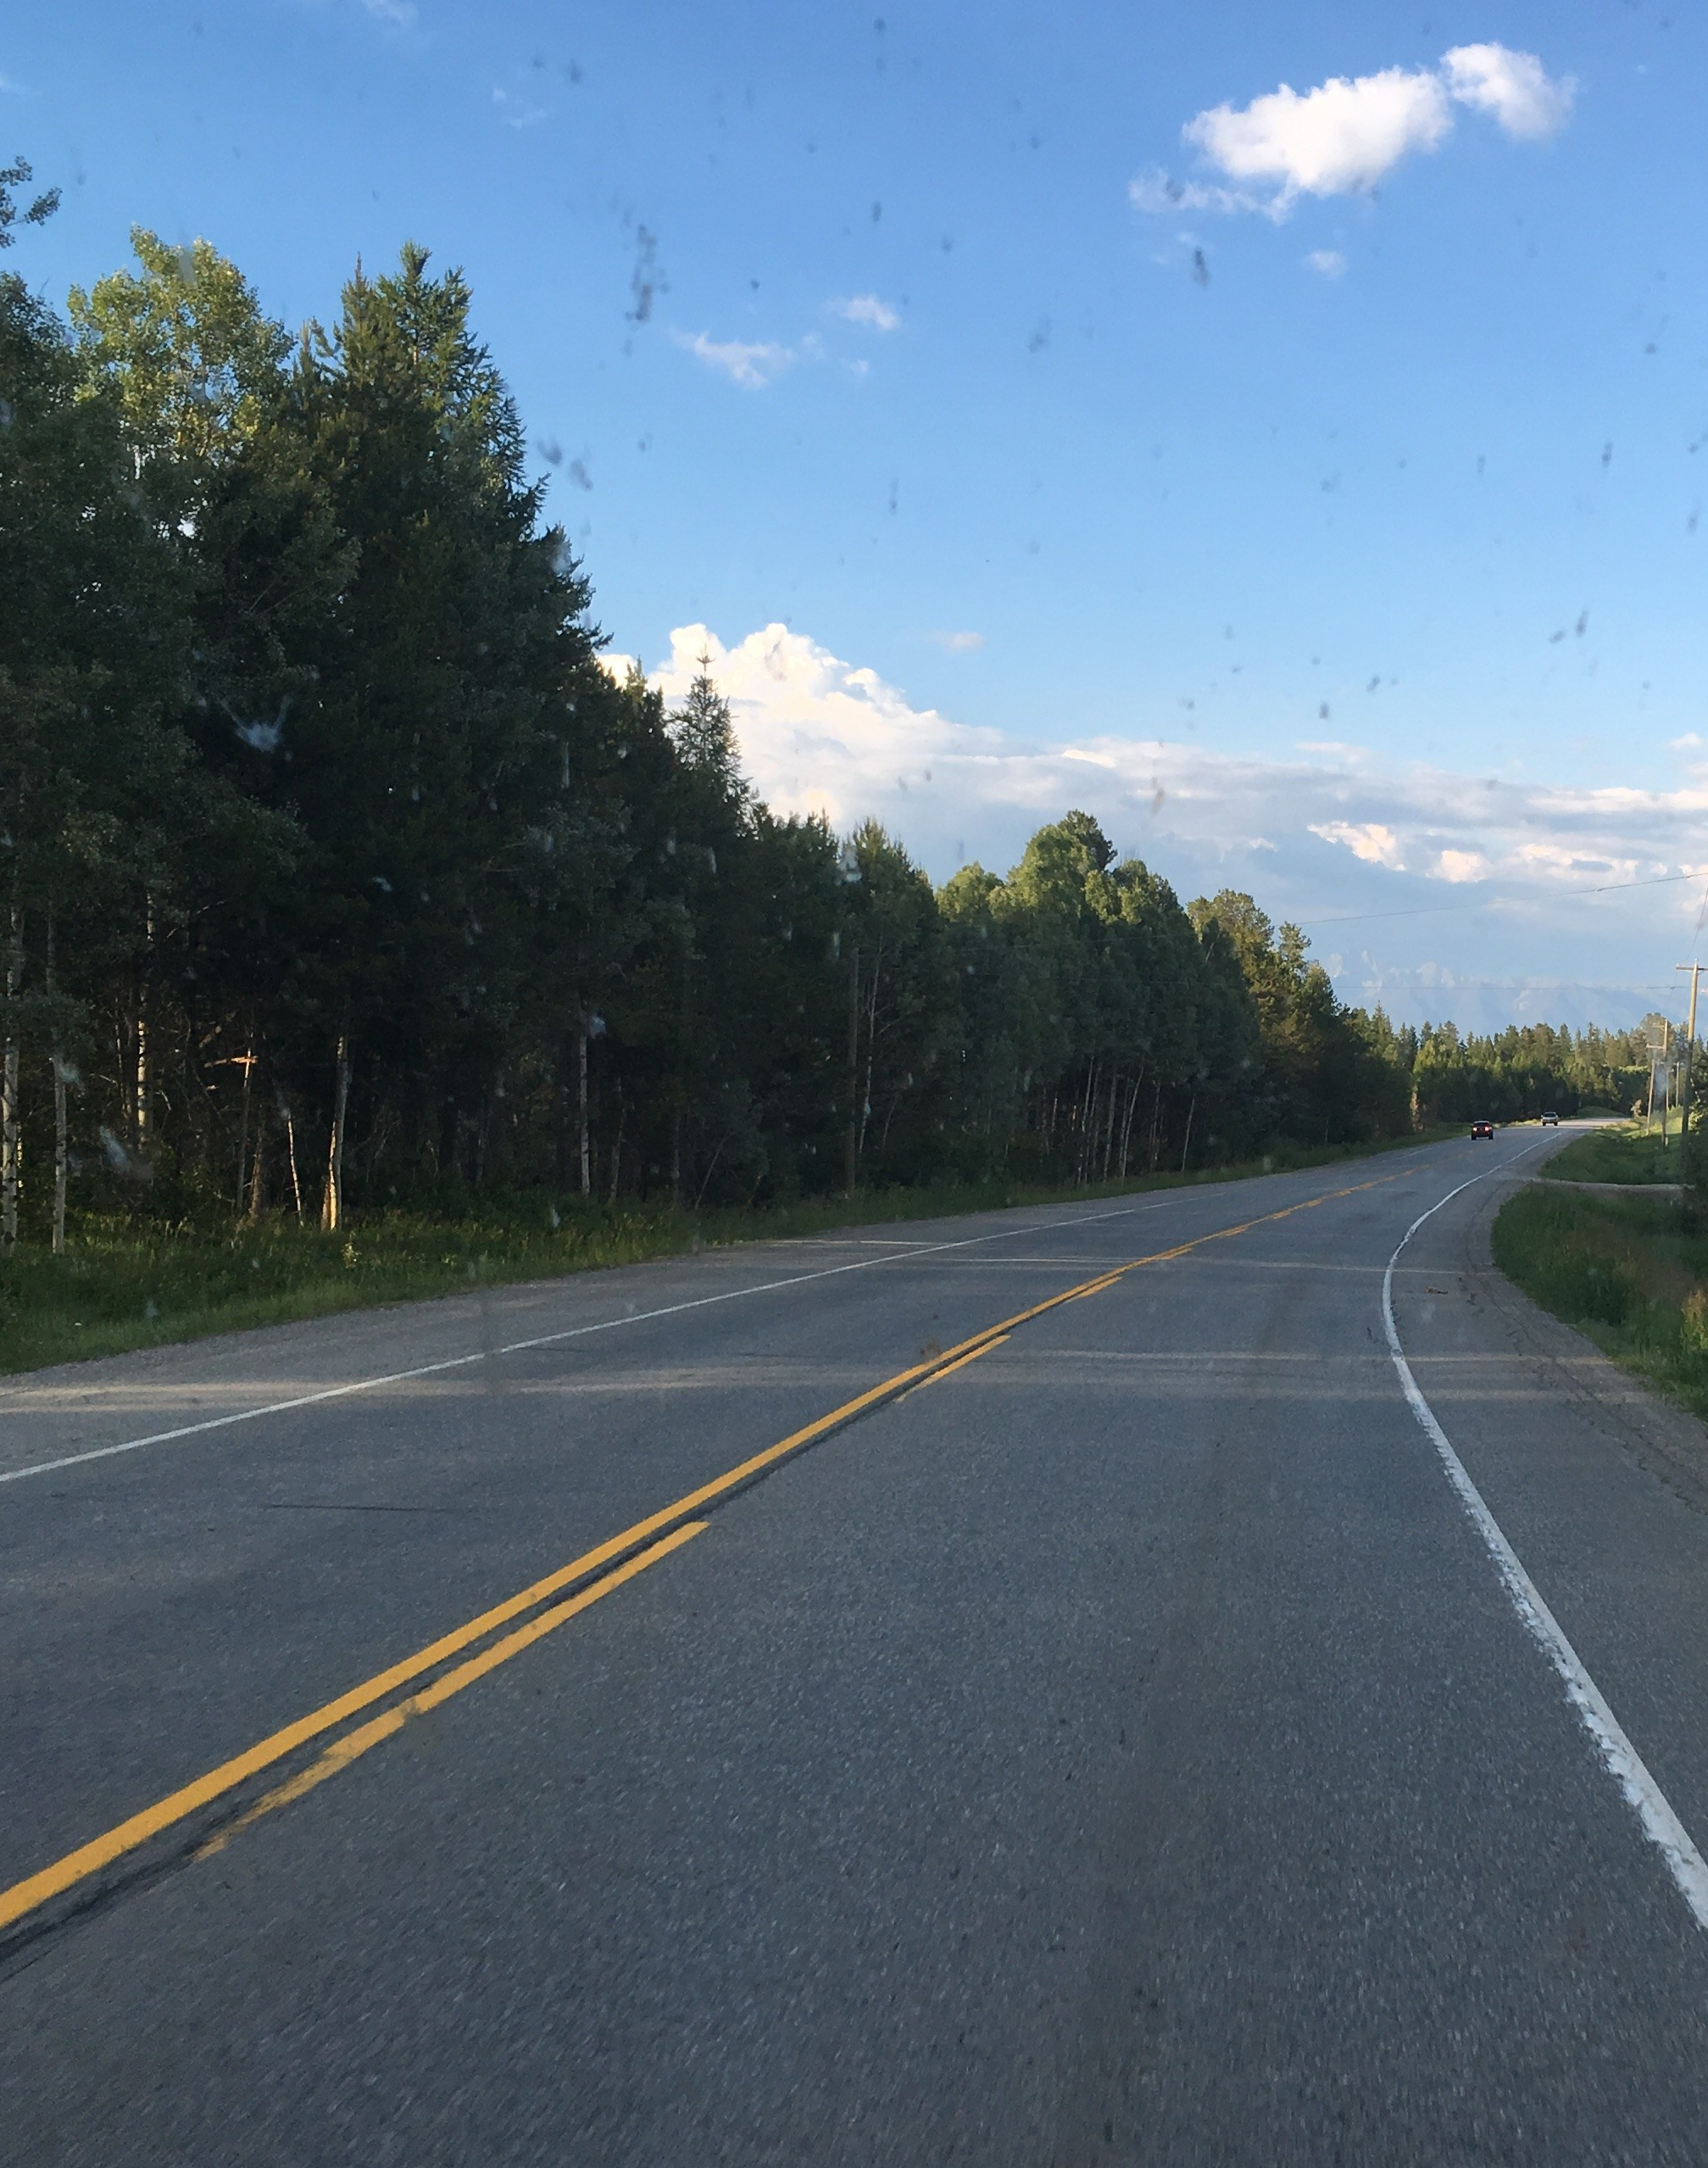
Cranbrook, BC is sometimes on route between Oregon and Ontario, or more specifically between Creston and Waterton Lakes National Park.

Disclosure: Please note that this post contains affiliate links. This means that we may get a small commission if you click a link and purchase something that we recommend. Clicking these links will not cost you extra money but will help us grow our website. Thank you for your support!

How did we first discover Cranbrook, BC?

Notice the bugs on our windshield!

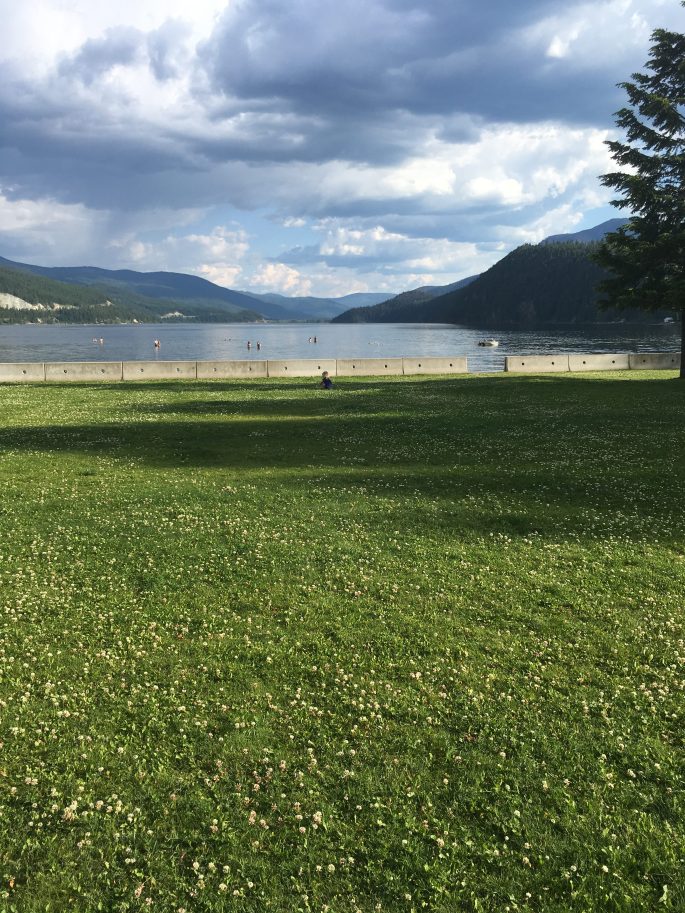
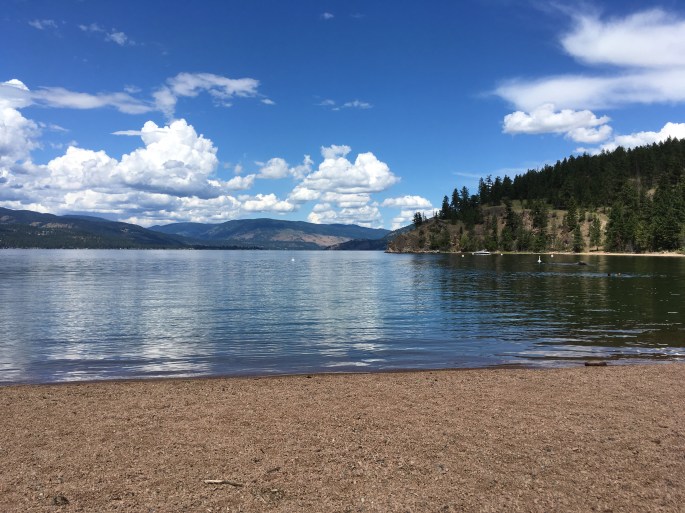
Our journey to loving Cranbrook started at Moyie Lake Provincial Park, late one afternoon.

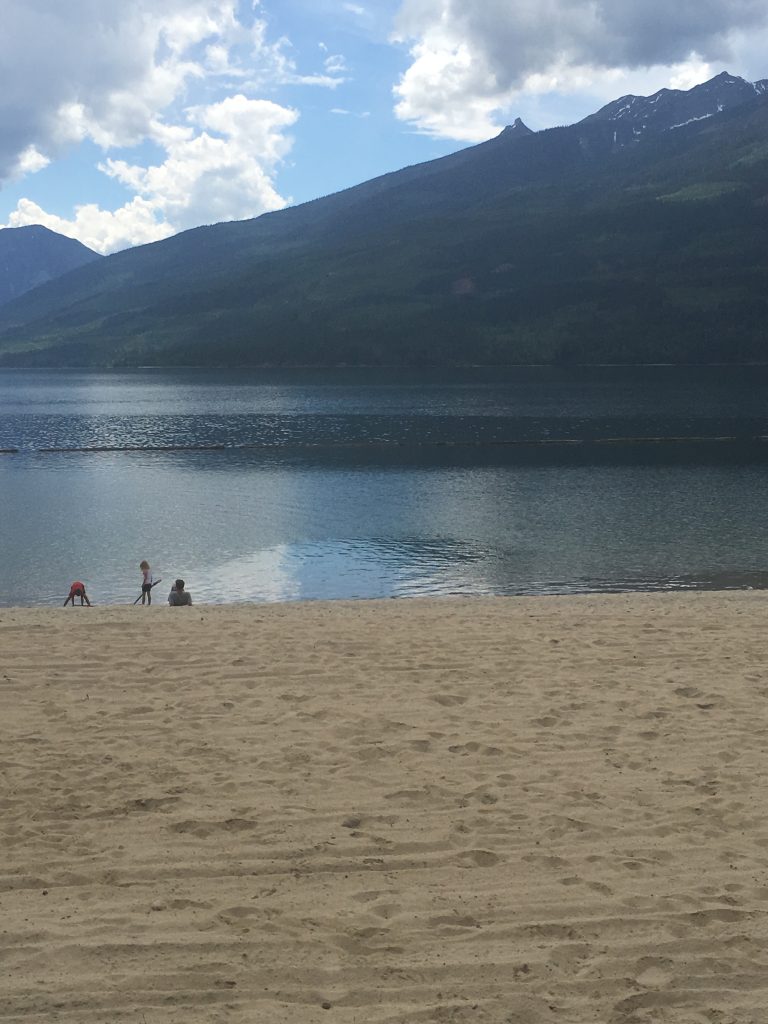
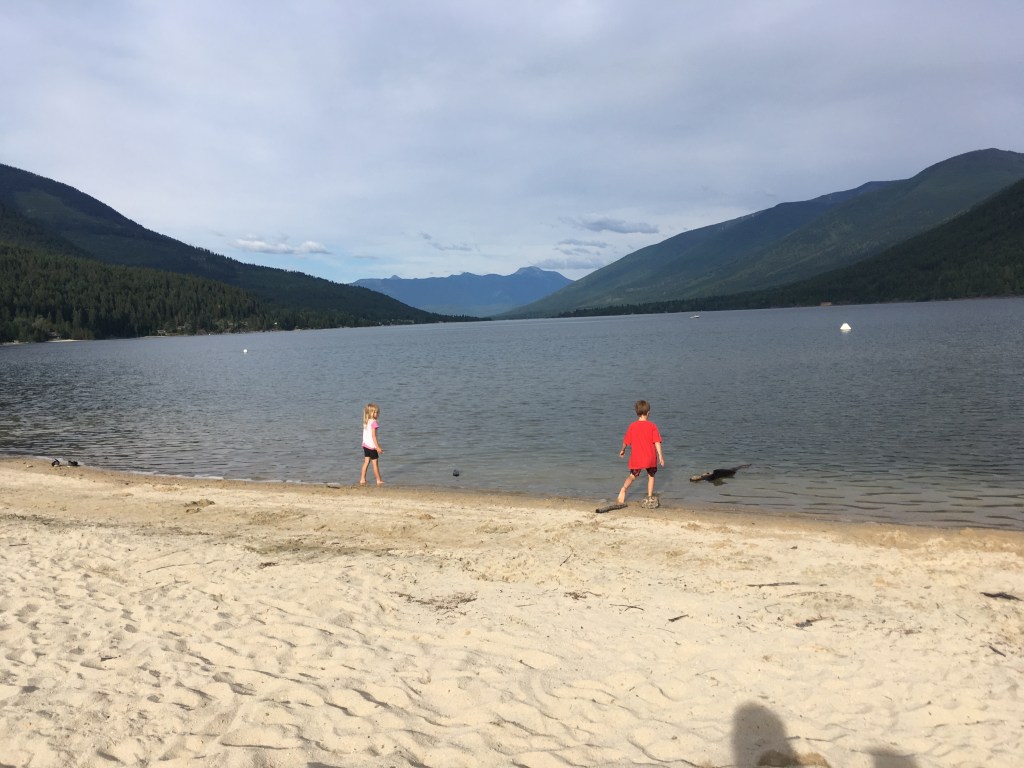
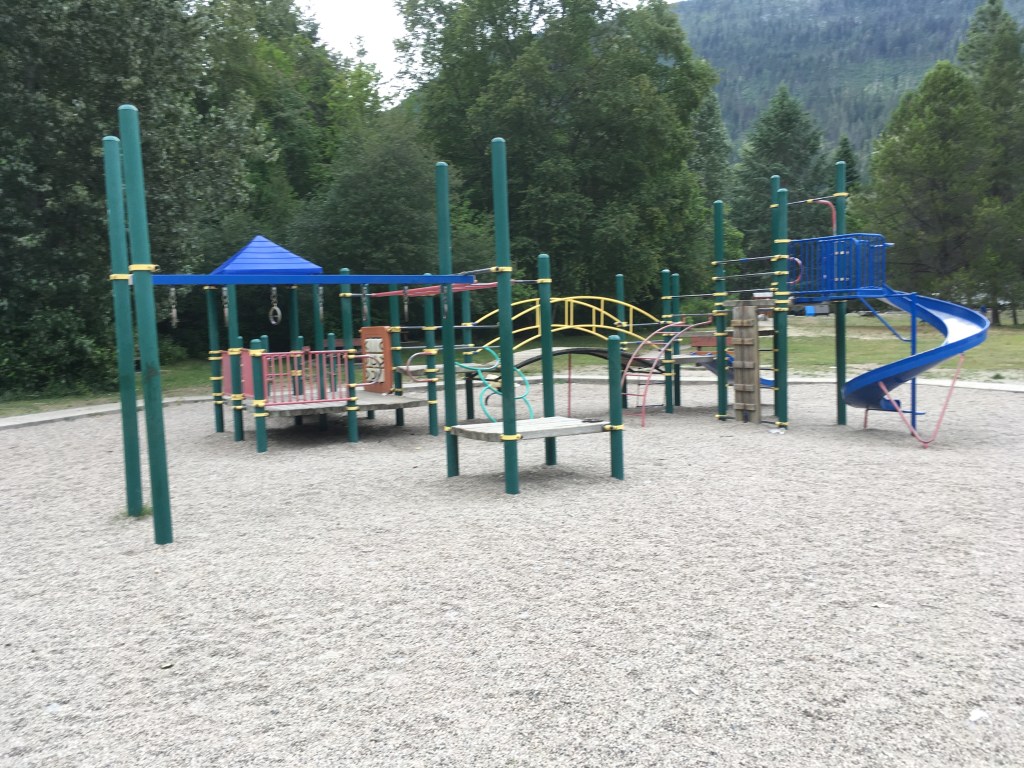
We stopped to stretch our legs and look for a place to sleep for the night. Moyie Lake Provincial Park is easy to access from Highway 3/95, and offers exclusive public access to the lake, tons of green grass, sandy beaches, flush toilets, picnic tables, a playground, and beautiful views.

Moyie Lake Provincial Park

Day use parking at the beach is easy to find. I grabbed a picnic table for dinner and the kids hit the beach.

Things started to go bad pretty quickly, however, when I swatted one fly while getting the cooler and a second fly while getting the stove.

By the time I was set up to cook there were more flies than I have ever seen in one place and I am from Michigan so I have seen a few black flies. This, however, were the black fly scary stories that people tell around campfires during full moons.

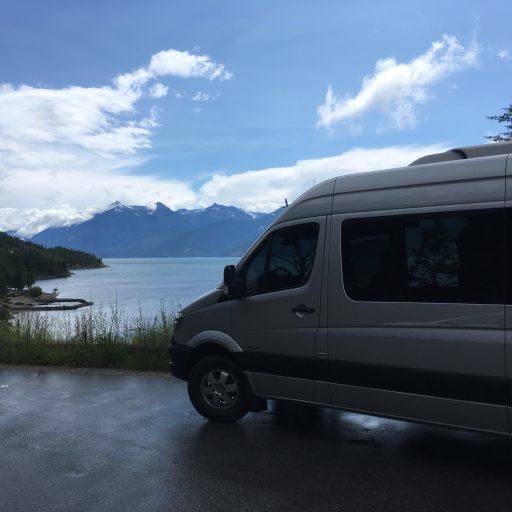
I rushed dinner, ran everything back to the van, and by some stroke of luck, the van was nearly fly-free. The van was a mess, I was frazzled, and desperate to get back on the road again!

Anytime, other than this day in mid-June, I would gladly endorse staying at Moyie Lake but we certainly were not staying that day.

If you decide to stay there in June, here are a few items that I may consider packing.

Fly strips – yes, these still make these and you can hang them in your van!

Mosquito head netting may seem like overkill but I would have paid good money for a head net!

Where did we stay?

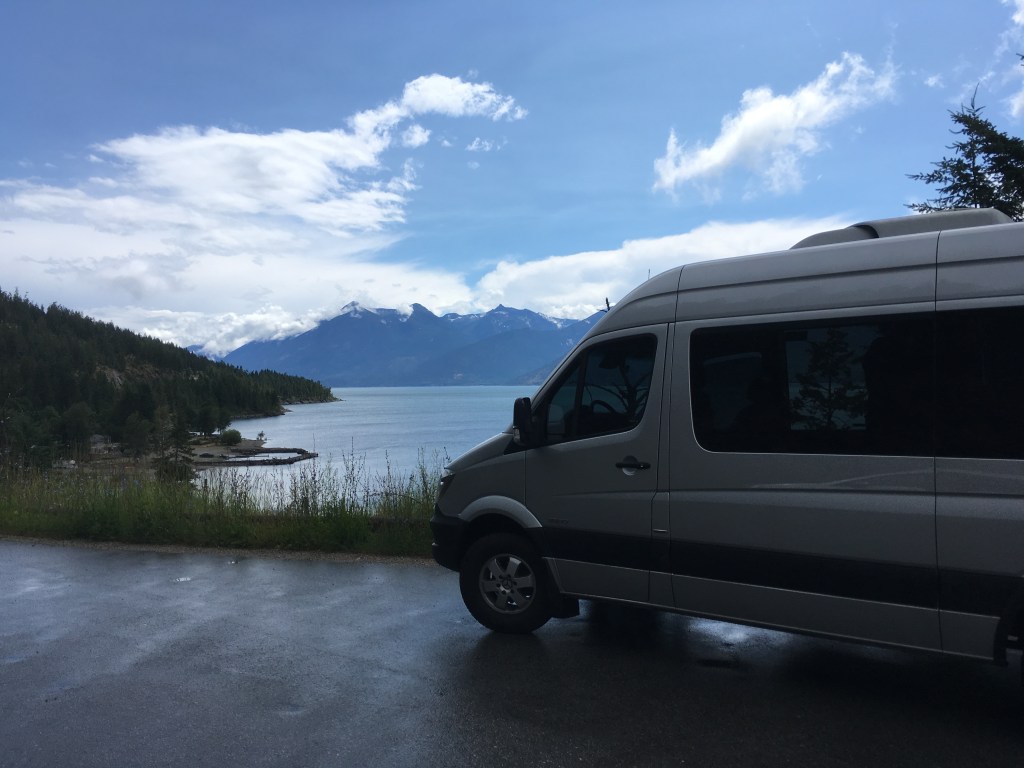
We rolled into Cranbrook just before dark and, for lack of a better plan, followed the little signs with the blue camping symbol. We didn’t have much confidence in this plan as the signs led us right into town and to the front desk of Mount Baker RV Park.

If you are anything like me, you may want to stop reading as soon as you see the words “RV Park” but please continue reading! Mount Baker RV Park was like a little bit of paradise. In that moment, it was everything we needed and then some!

One side of the park are RV hookups and the other side leads over bridge crossing a stream to a open green space that is intended mostly for tents. There were not any tents in that space and we didn’t need hook-ups, so we paid the nominal fee and slept in a field of freshly cut grass, next to a river, with flush toilets, hot showers, and laundry facilities.

I didn’t really even need to do laundry but I did anyways. The kids threw sticks in the river, kicked soccer balls, and did somersaults. Things couldn’t get any better!

We woke up the next day and realized that we really were in the town of Cranbrook. From Mount Baker RV Park, we walked to town and loved what we saw.

Cranbrook BC: 5 Things To Love

1. The Historic Downtown

A few blocks from our campground we found the historic downtown full of local shops and restaurants.

2. The people

Locals on the street and in shops smiled and stopped to chat. People in cars smiled and waved “hello” as we crossed streets or parking lots.
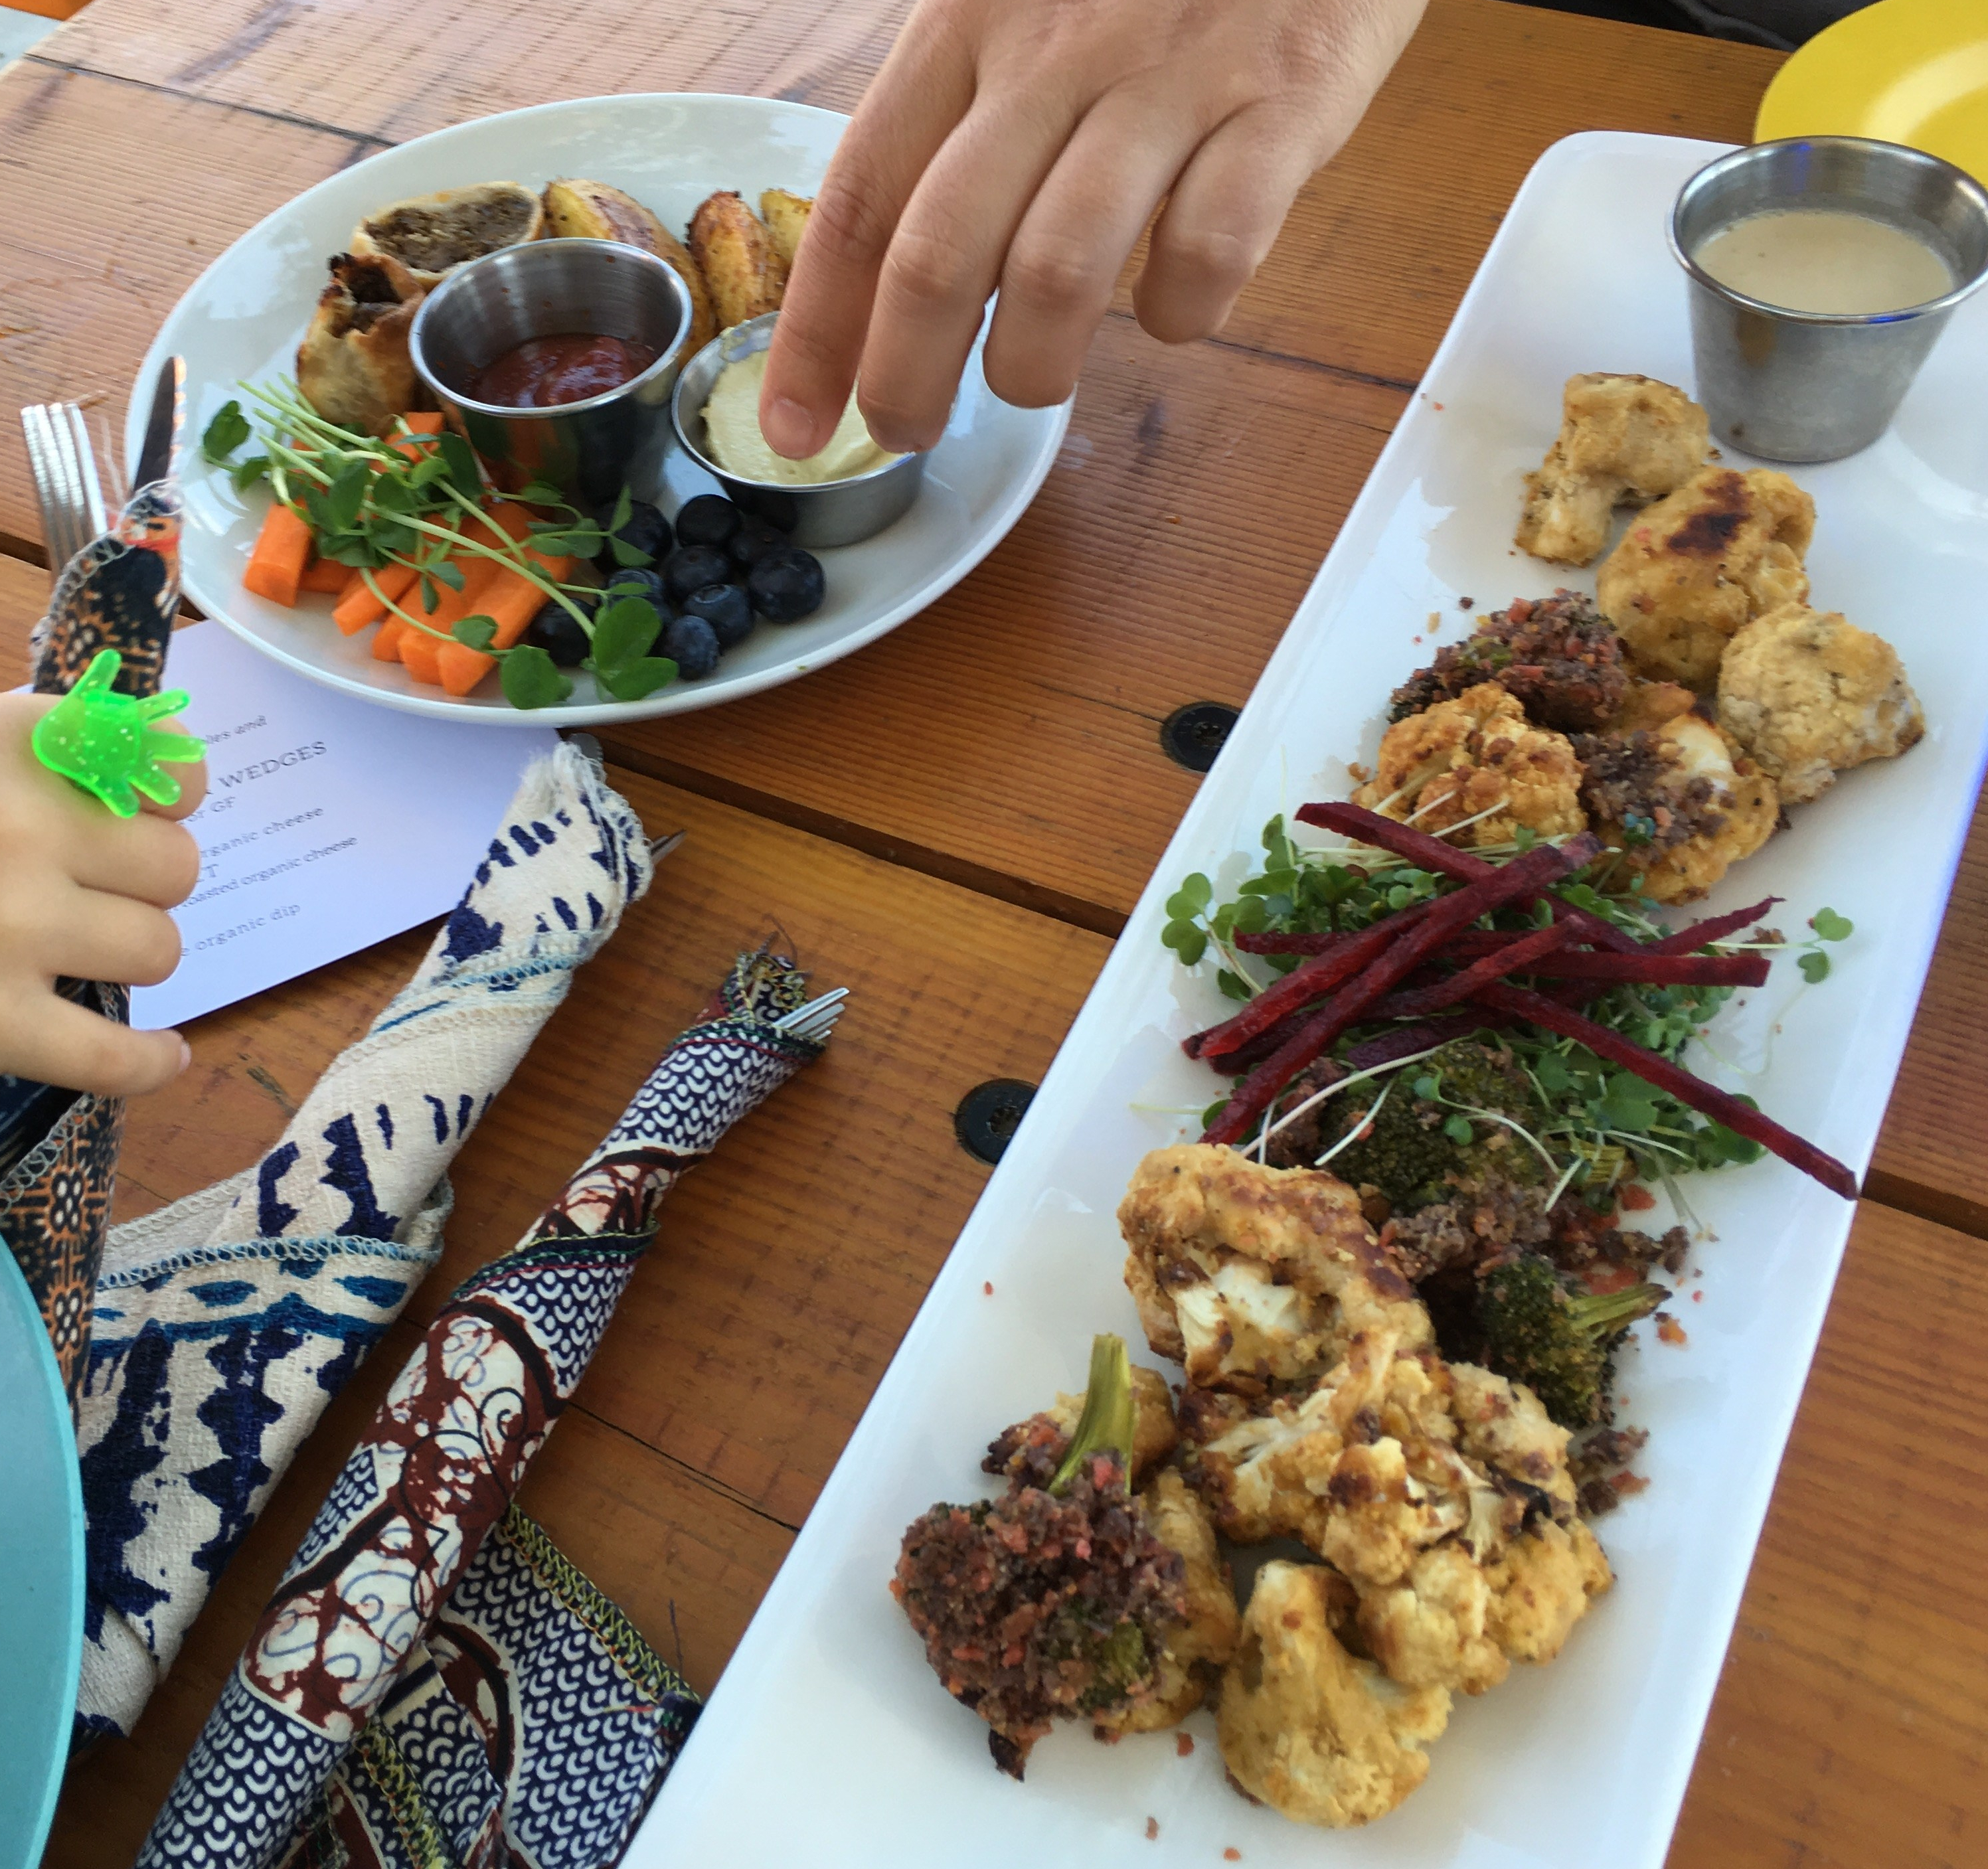
3. The restaurants

Historic downtown offered tons of food options. We weren’t even looking for a restaurant but we couldn’t resist!

Soul Food is a local farm to table cafe and restaurant. We sat at a table outside, had drinks and two rounds of food!

Soulfood. Cranbrook BC

4. Diverse downtown shopping

Just as we weren’t really looking for a restaurant and we didn’t really need to do laundry, we weren’t really looking for a large grocery store but there we were. Historic downtown Cranbrook, a stone’s throw from our campground, also happened to have a large chain grocery store so we picked up some odds and ends!

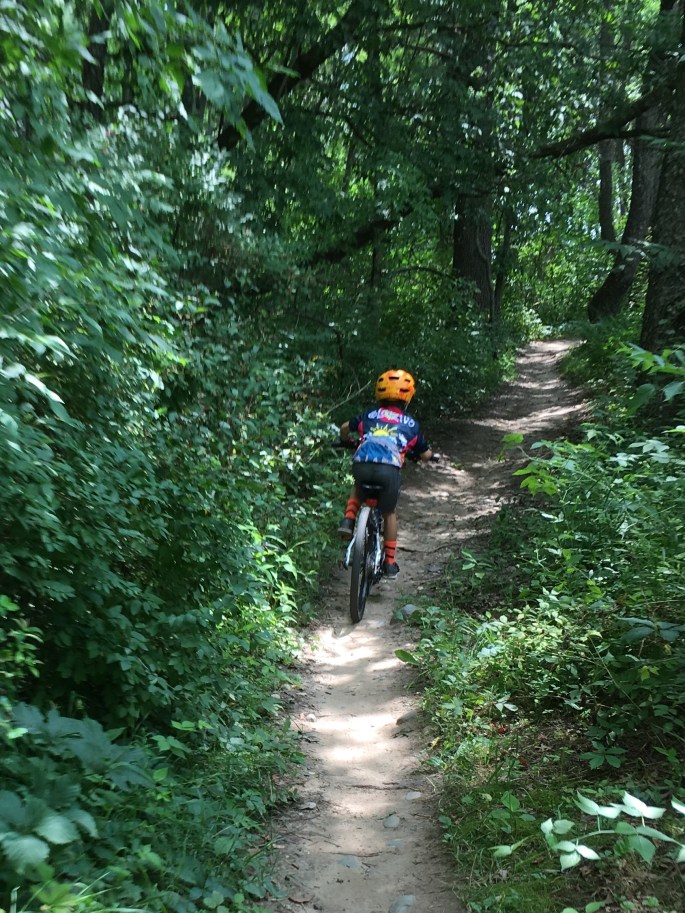
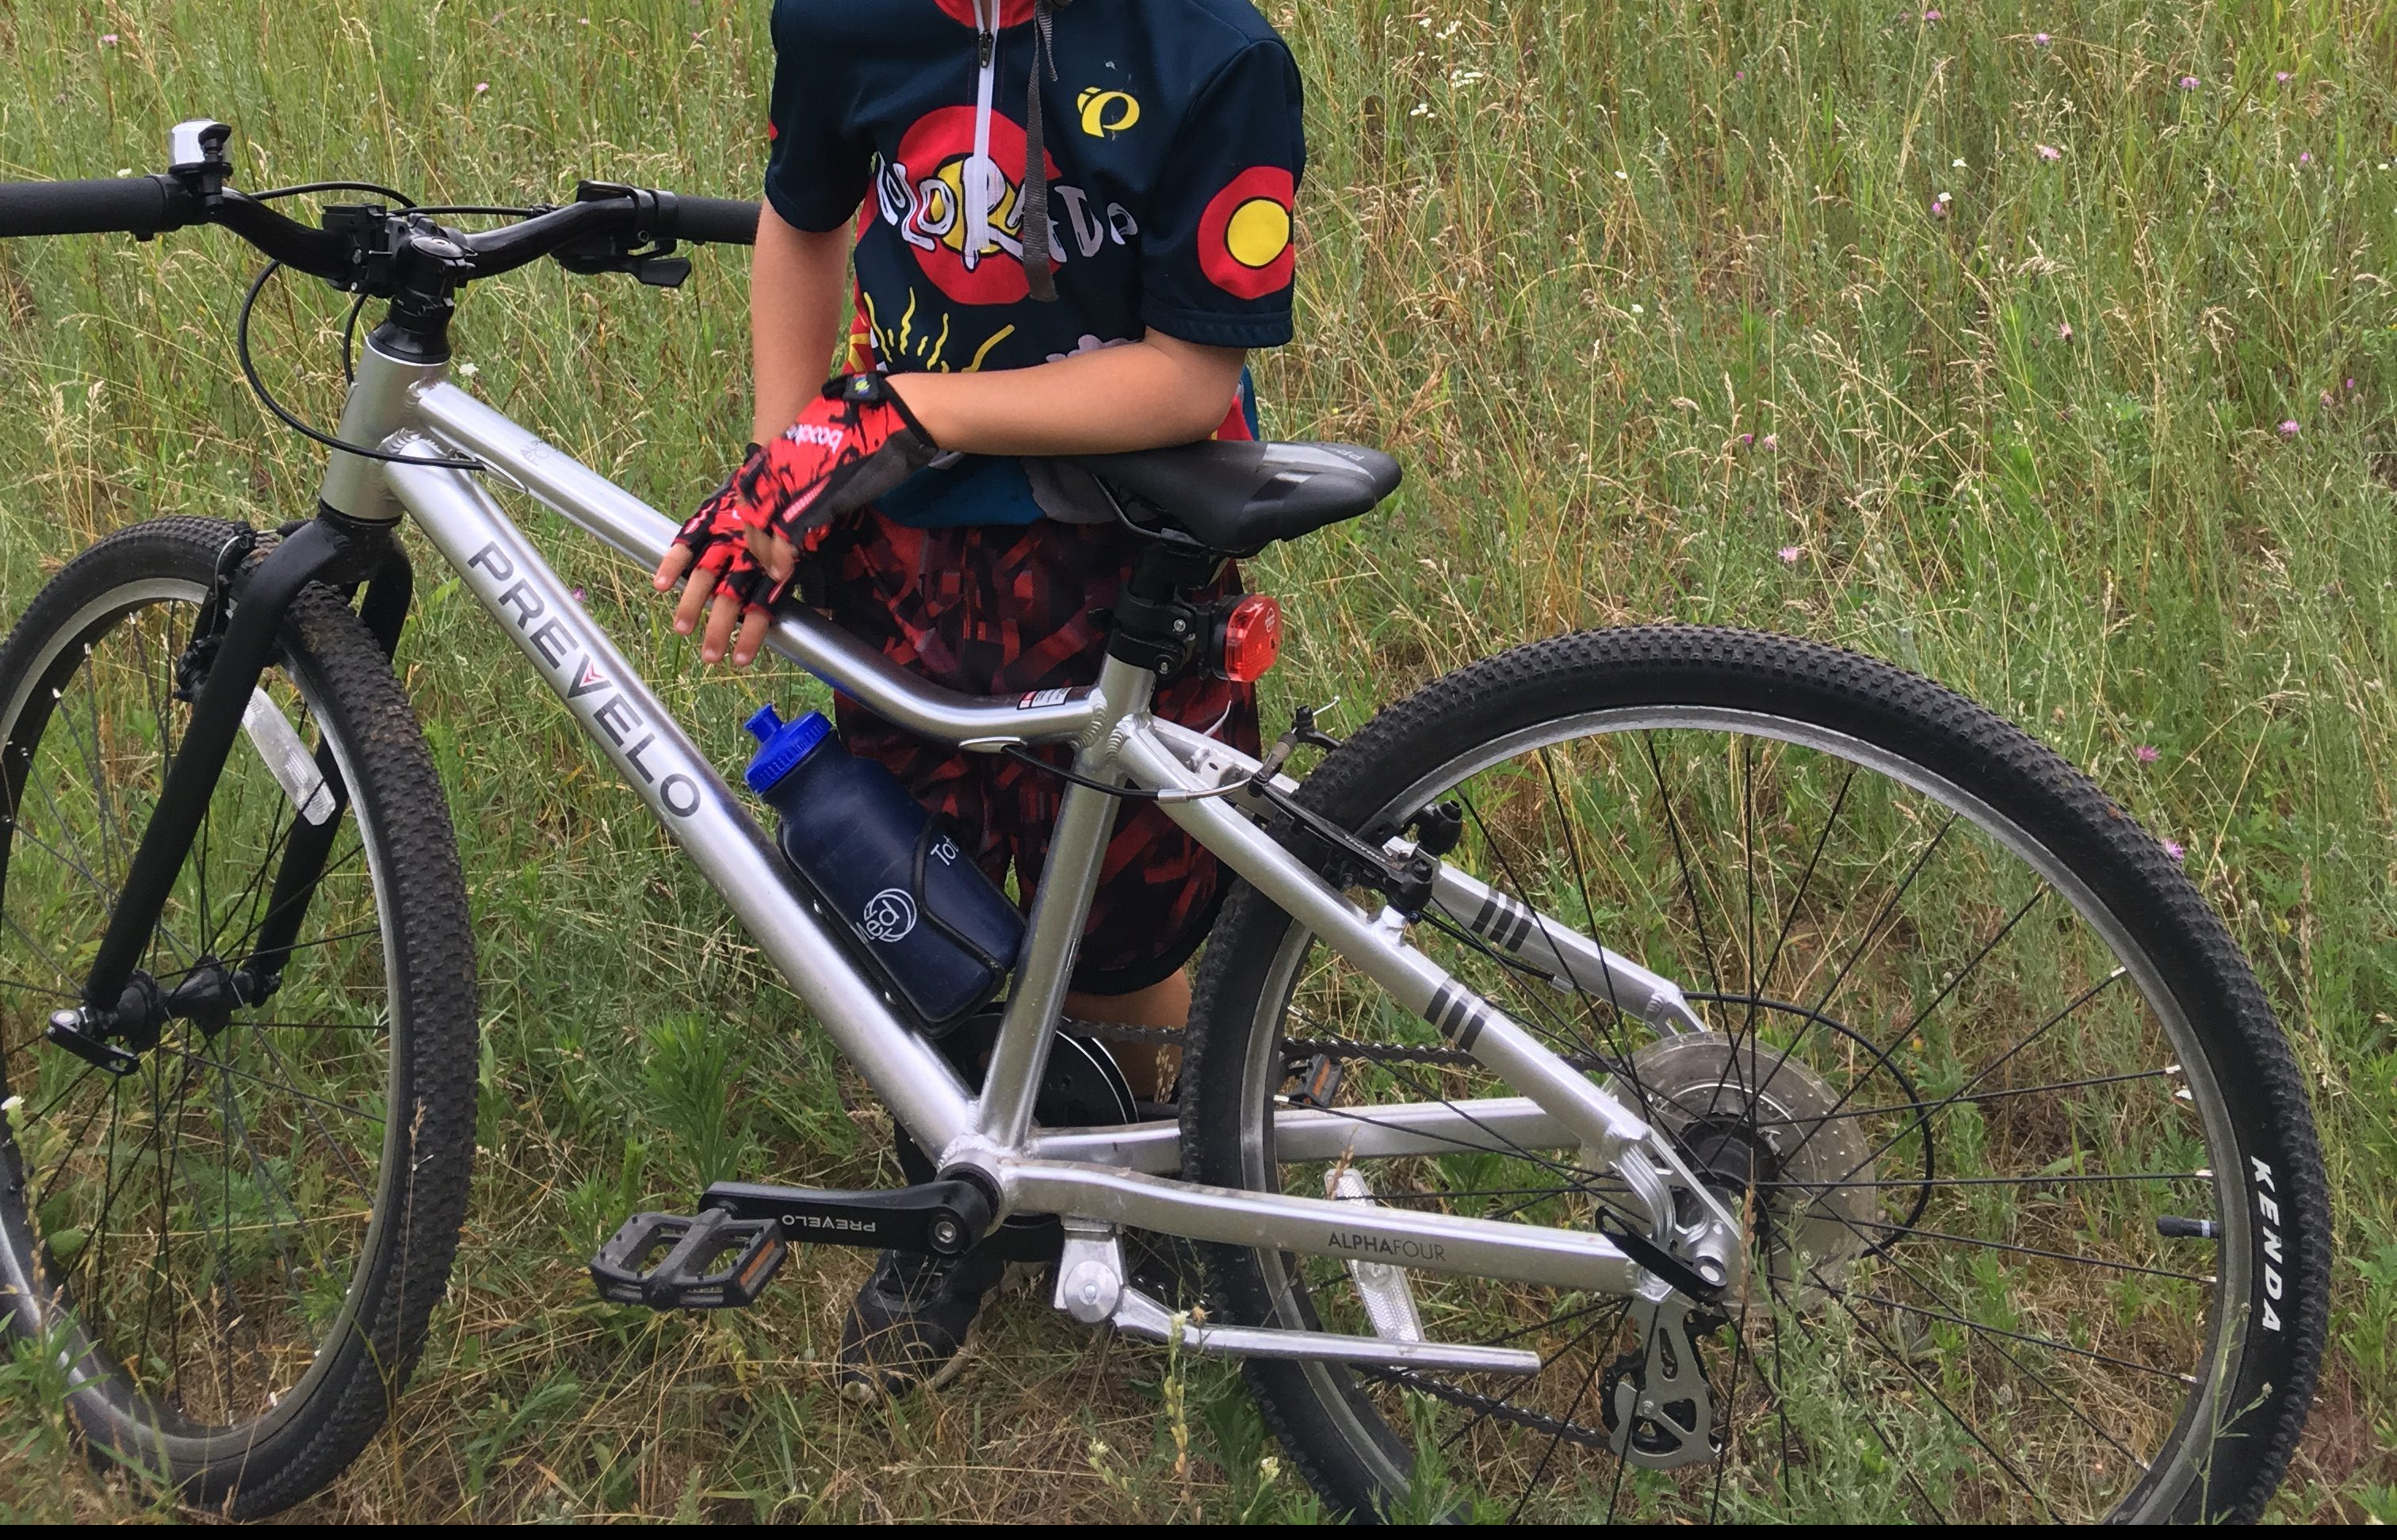
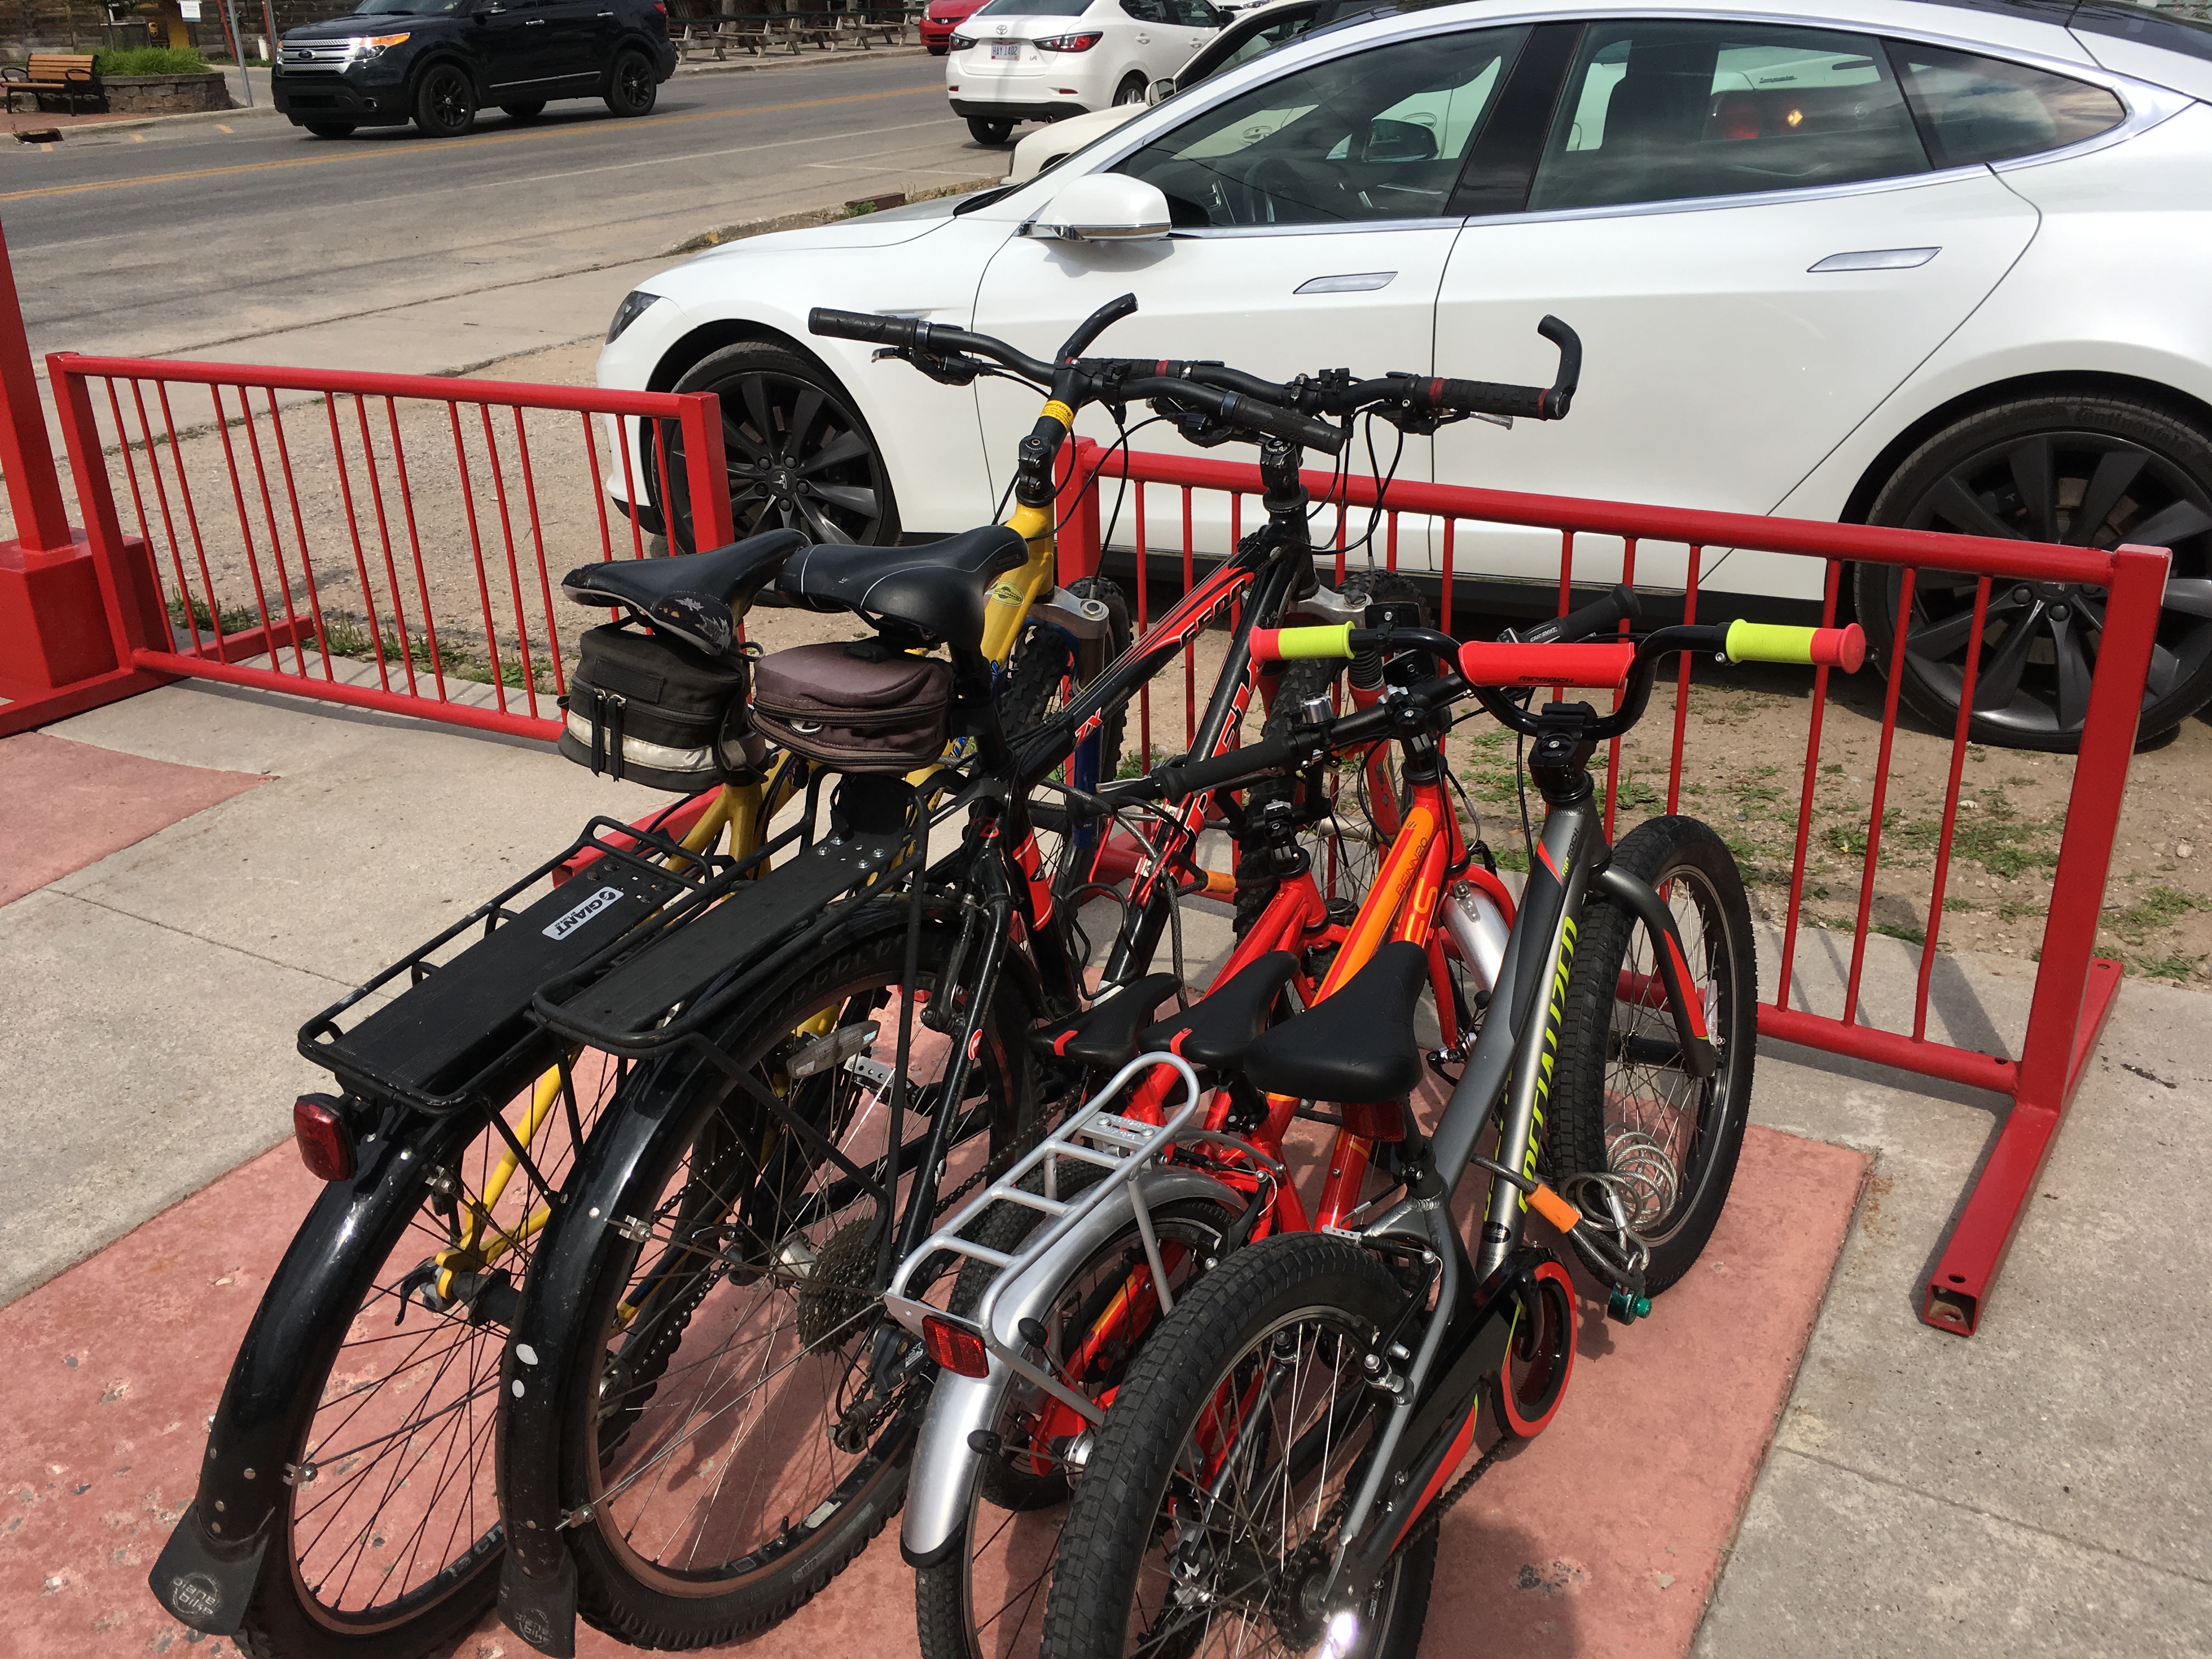
5. Cycling routes, side walks, and parks

Cranbrook has it all. There are bike lanes, cycling routes, cross walks, and parks all over downtown. Check it out! You won’t be disappointed!

Please follow our blog for more adventures!

https://ramblingfootsteps.travel.blog/2020/05/16/waterton-lakes-national-park-in-1-day/ https://atomic-temporary-169313545.wpcomstaging.com/2020/05/13/real-life-tips-for-handling-mosquitoes-while-hiking-the-pct/

Sprinter Roof Rails Self Installation: 12 Easy Steps.

Disclosure: Please note that this post contains affiliate links. This means that we may get a small commission if you click a link and purchase something that we recommend. Clicking these links will not cost you extra money but will help us grow our website. Thank you for your support!

Are you looking for a DIY alternative to Sprinter factory roof rails? If so, we can help.

Check out our step by step guide to self installation of roof rails in your Sprinter camper. Enjoy!

Supplies:

  • Part no. 1575 from 8020.net (for the roof rails themselves)
  • Heat gun, rented from local hardware store
  • Round file
  • 5/16″ counter sink bit
  • Drill Press, borrowed from a neighbor
  • 5/16″-18 flat head bolts, 1 inch long
  • 5/16″-18 nuts
  • 5/16″ Fender washers
  • 5/16″ Lock washers
  • Loctite
  • 3 in 1 oil
  • Butyl tape
  • Ladder
  • Safety glasses

Total cost in 2020 was under $150 (excluding items we already had or borrowed)

Step 1

Make a jig for using with the drill press.

This is dependent on the drill press or equipment that you are using. I do not claim to be an expert on this but here is a picture of what we used.

Notice that the green tape and block dots are for alignment and so that if I remove the jig, I can put it back in the same spot.
Jig for drill press

Step 2

Place the 8020 on its side on top of the van and mark the 8020 at the center of each plug.

We used a mechanical pencil in order to have a very specific line for reference.

Step 3

Use 3 in 1 oil to lubricate each drill site on the 8020.

Step 4

Align 8020 in the jig and drill it at each line.

Consider looking in your drill manual in order to set it to the correct speed.

Step 5

Check the weather report for rain. If the weather looks promising prepare the 8020 and get ready to remove the plugs from the roof.

Step 6

Use the heat gun to soften the glue and remove the plugs one by one.

A second person can help by pushing the plugs from inside the van. Be aware that the plugs and surrounding metal will be hot!

Heat gun removing plugs from roof
Plug from roof
Hole from roof plug

Step 7

Clean the roof but be aware that by the time you get up there with the 8020, it will be dusty again!

Step 8

Dry fit the 8020 and bolts on the Sprinter roof.

Use a round file if fine adjustments are needed.

Step 9

Line the 8020 with butyl tape. Be aware that the front and back of van have a slight curvature so you may need to double layer the butyl tape at the ends.

Additionally, be aware that your local hardware store may try to substitute putty for butyl tape. Stick with real butyl tape. There is a huge difference!

We ended up ordering more butyl tape online and waiting two days with holes in our roof because we ran out and could only get putty tape locally. This was less than ideal!

Step 10

Using butyl tape, line the 5/16-18 screws and the 8020 drill holes in order to fill any potential gaps during installation.

Sprinter roof rails
Butyl tape on 8020 roof rails

Step 11

With the 8020 on the roof, poke a hole through the butyl tape with a nail.

roof rail DIY

Step 12: Sprinter Roof Rails

Apply bolts and hardware and tighten. A second person may help by holding the hardware from the inside of the van.

working on the sprinter camping conversion

Sprinter Roof Rails, Installation Complete!

Congratulate yourself on another Sprinter DIY project complete!

Please follow our blog for other Sprinter tips and adventures!

Sprinter Camping Shopping List: Stocking Stuffers. Sprinter DIY
Sleeping 4 in a Sprinter 144. Sprinter DIY camping conversion.
What exactly is stored under the kids seats?
Child Carrier For Hiking: Our Recommendation
Advertisements
Advertisements

For further tips on installation we found the following blog helpful, as well.

How to Install Roof Rails to Your Sprinter Van

Highway 6, BC: 4 Reasons to Take this Route

1. The Needles Ferry

The Needles Ferry is a cable ferry along Highway 6, BC. It connects Needles and Fauquier and runs on a thirty minute schedule between 5 am and 10 pm. After hours, it runs on demand. The capacity is 40 vehicles, which is just enough to feel like you are on a ferry but not so many that it takes hours to load and unload.

It is a short crossing and a relatively small ferry but my kids still found the snack bar.

This is the view.

2. Monashee Pass, Highway 6, BC

Monashee Pass is just over 80 kilometers east of Vernon and takes you up 1,189 meters. It is an easy drive.

I imagine there are views and hiking but instead, we enjoyed a good old fashioned hail storm. The kids were pretty impressed.

3. Nakusp. Highway 6, BC

Nakusp is a perfect place for a picnic. There are beaches, views, a playground, and an antique plow train that is open for tours!

There were also flies.

Nakusp. Highway 6 BC
Plow train from 1921
South between Nakusp and Nelson

4. Nelson.

Nelson is a small town with city amenities. It has a developed downtown full of local cafes and shops. The scenery if full of mountains and lakes, offering something for everyone.

We chose to stay at Kokanee Creek Provincial Park. It is a short drive out of town and offers sandy beaches, play grounds, and hiking trails. We hope to stay there again!

Nelson

You can check out this link to find out how 4 of us sleep in our Sprinter 144.

See you in the Kootenays!

6 Great Surprises along the Trans-Canada Highway.

My husband, myself, our 5 year old son, and 3 year old daughter traveled from Oregon to Ontario via British Columbia and Alberta. I had wanted to drive the Trans-Canada Highway for at least the ten years prior. It was everything that I hoped for and more!

We looked out the window and stopped when whenever we wanted.

Here are 5 unexpected things that we loved while traveling from Salmon Arm to Banff.

1. Revelstoke.

Are you kidding? Revelstoke is amazing!

It is like a mountain oasis on the banks of the Columbia River.

In 2016, when we were there, Revelstoke apparently had a population of just over 6,700 and by 2019 that increased to over 14,000. As far as I can tell, that is for good reason.

The town is full of local cafes and shops. Food options are endless. Whether you are looking for organic, homemade, local, vegan, vegetarian, grass fed, or just delicious, you will find what it! People are friendly and kind.

The mountain resort is modern and has views for miles. The mountainside lodging in June was too much of a deal to pass up. We signed on for a slope side 2 bedroom with a kitchen and patio. I recommend bringing food and drinks from town if you are staying more than a night but the room will not disappoint!

You will see bears if you are lucky. The mountain coaster is super fun. The views are remarkable.

2. Spiral Tunnels along the Trans-Canada Highway.

I had never even heard of a spiral tunnel. When we saw our first one we were amazed. Then we wanted to learn more!

There are two view points. One along the Trans-Canada Highway just over 7 kilometers east of Field.

Basically, an train leaves Field going eastbound and goes through two tunnels, under the highway, across the river and into the Lower Spiral Tunnel. The train spirals up and exits the tunnel higher than where it started. It crosses the river again, goes under the highway, and into a second tunnel. It exits that tunnel higher yet.

You have the opportunity to see each end of the train at different altitudes at the same time. Does that make sense? It does when you see it!

Advertisements
Advertisements

3. Yamnuska Wolfdog Santuary

The kids were ready to stretch theirs legs. This was near the highway and so popped in.
The staff are kind and obviously care for the animals. The kids like it and I continue to find wolves kind of creepy.

It’s a nice stop and welcome rest break on the way east bound to Banff.

4. National Parks along the Tran-Canada Highway.

Mt. Revelstoke, Glacier, and Yoho are all packed into a short piece of the Trans-Canada Highway. I will let these parks speak for themselves. Stop at each one, especially Yoho. You won’t be disappointed.

5. Via Feratta,Banff.

Via Feratta is Italian for “iron way”. It is a climbing route with cables, ladders, and fixed anchors.

This is the view of Banff from the Via Feratta.

6. Banff: The Less Crowded Side.

Here is a picture of an afternoon away from main street, tour groups, and hotels parking garages. This side of Banff isn’t hard to find.

Advertisements
Advertisements

Kids Bike Review: Prevelo

Our daughter rode a strider bike at one year old and a two wheeled bike before age two. On son was a bit older but only because of our own ignorance. We didn’t know that two or three year old kids can ride two wheeled bikes. Well, they can! It helps if you have the right kids bike.

Islabikes is our first love in kids specific bikes. I was lost when they discontinued their store in the United States but things tend to work out and it led me to an even greater kids bike love.

Prevelo Kids Bikes!

Prevelo

Here are my top 5 reasons that both you and your kids will love Prevelo bikes.

1. Prevelo Customer Service.

My son had barely outgrown his bike when my daughter was more than ready for a bigger bike. We went to every bike shop within a fifty mile radius. We read bike reviews, articles, and blogs. My son test rode every bike we could find.

His reach was just a bit too short for any of the bikes, including some of the kids specific brands. I had nearly lost hope when I found Prevelo online.

Jacob answered on the second or third ring when I called.

He is the owner, designer, and mastermind of the company. He was happy to provide custom measurements, answer questions, provide encouragement, and fill me in on company policies and perks. These include the following.

  • 30 Day Money Back Guarantee
  • $15 Shipping, refundable in the US

I was pretty much sold when Jacob answered the phone as if he was an old friend.

They don’t mess around with shipping!

2. Kids Bike Design

Once you see your kids on a bike designed just for them, you will be convinced. The difference between a bike that is small and a bike that is for kids is unbelievable!

Jacob could tell you all about it but here are some of the basics.

  • Low Geometry!
    • Riders are low to the ground
    • Low seat heights, low peddle brackets, and increased rider and parent confidence!
  • Short crank arms and narrow Q angle.
    • You may want to look these items up but, trust me, this is a good thing!
  • Robust designs
    • Improved kid specific durability
HB’s first two wheeled bike. A 14 inch Islabike.
HB learning to work on bikes. He asked for all of the accessories on his Islabike.
Grace learning bike maintenance.

3. Social and Environmental Responsibility

Check out Prevelo’s advocacy and giving page for a full list of organizations that they support. The list includes People for Bikes and 1% for the Planet.

For places like this!

4. Trade Up Club: Kids Bike

Its exactly what you think. Send back your bike when it is too small and put 40% of your original purchase price towards a new bike.

As the mother of a 7 year old and a 5 year old, the previous owner of 4 kids specific bikes, and the current owner of 2 kids bikes, I am especially interested in this program!

Out to lunch a few years ago. Kids bike.

Highlights of 5 Years of Family Bike Riding:

  1. Sleeping Bear Heritage Trail, Michigan

2. Luton Park, Michigan

Prevelo Kids Bike

3. Commuting around town on kids bikes!

This is actually at Sleeping Bear but our local commute has a similar trail. Grace rode her bike to her first day of preschool and I didn’t even get a picture.

4. May Flower Gulch, Colorado

Kids bike.

5. McDonald Dunn Forest, Oregon

5. Waterton Lakes National Park, Canada

Disclosure: Please note that this post contains affiliate links. This means that we may get a small commission if you click a link and purchase something that we recommend. Clicking these links will not cost you extra money but will help us grow our website. Thank you for your support!

Waterton Lakes National Park in 1 Day.

Waterton Lakes National Park is off the beaten path. It is out of the way and rustic in the most convenient and comfortable ways. The town has something for everyone!

We spent 1 night and 1 day in the park, shortly after a large fire ravaged the forest and town. Even if unable to enjoy the trails, there is plenty of reason to go and enjoy! Below is a list of what we did and we would gladly do it all again!

10 Things to do in Waterton Lakes National Park.

1. Set up camp at the Townsite Campground

Waterton Lakes Townsite

Townsite Campground is a mountain paradise for weary parents and kids alike. Green grass and huge campsites are only the beginning. Hot showers, dish washing stations, common kitchen shelters, flush toilets, and lake views are among the amenities. A short stroll takes you to restaurants, boat docks, and shops.

2. Get your National Park Passport Cancellation.

A temporary visitor’s center was set up in the post office when we were there. Hiking and mountain biking trails were closed. The locals and park employees love of and concern for the park and town is obvious. We respected the trail closures and didn’t feel like we missed a beat!

3. Walk to town and window shop.

4. Get take out at Wieners of Waterton.

Trust me, you won’t be disappointed! This isn’t your average hot dog restaurant.

5. Picnic by the lake.

Waterton Lakes National Park

6. Check out the bike path.

It winds around the campground, by the lake, through a meadow, and along a river. My 5 year old and 3 year old bike better than they walk so we love a good bike path! Thank you Prevelo kids bikes!

https://ramblingfootsteps.travel.blog/2019/11/26/mountain-biking-4-in-a-sprinter-144-brief-kids-bike-review/

Waterton Lakes National Park

7. Ride your bike to Cameron Falls and take the short hike to the top.

8. Check out the view from the Prince of Whales Hotel.

The bike ride is steep on the way up and quick on the way down. The views are amazing!

9. Watch wildlife.

The park rangers seemed to know every bear and they pointed us towards a mother and two young cubs to watch from a distance. The bears didn’t mind, which was good since we were on our bikes.

The signs warn of aggressive deer. Luckily, we didn’t have a problem.

Advertisements
Advertisements

10. Plan your next trip to Waterton Lakes National Park.

Disclosure: Please note that this post contains affiliate links. This means that we may get a small commission if you click a link and purchase something that we recommend. Clicking these links will not cost you extra money but will help us grow our website. Thank you for your support!

10 Things To Pack For Hiking The PCT.

Are you considering a multi-day backpacking trip or a long thru hike, such as the Pacific Crest Trail? Do you wonder which things to pack for thru hiking the PCT?

You can benefit from our experiences thru hiking the PCT, the Vermont Long Trail, and the West Coast Trail. Here are a list of 10 things that we pack and love!

Hiking the PCT

Please note that this post includes affiliate marketing links. This means that we may benefit from a small amount of any purchase. This would be at no additional cost to you. We only endorse products that we use and love!

For Meals and Food:

  1. Ursack Allmitey Bear Bag. This works for rodents, as well as bears. CD used this for his thru hike in 2004 and we still use it today. You may consider sleeping with it under your pillow depending on how significant the rodent problem. It is durable, effective, and convenient. It is a must – have!

2. Titanium Spork. In the world of sporks, we vote for titanium. After breaking a couple of plastic sporks each, we decided to endorse something more durable. These have lasted us 5+ years and I anticipate that they will last at least another 5.

3. GSI Outdoors Infinity Backpacker Mug. CD did not have this on the trail as he was given it last year. He tells me that he would have taken it if he knew it existed. Apparently, he may consider taking it in place of water bottle. That is saying a lot since he was never far from his Nalgene when we first met.

4. MSR Dromlite Water Bag: 6 L. Methods for carrying water on the trail are a matter of personal preference and comfort . This is CD’s choice. More than 16 years later, it still has not gotten a leak.

5. Evernew Titanium Pot, 1.3 L. It is years later and this pot is still good as new. It is just the right size to feed one or two thru hikers or three or four car campers.

To Stay Warm and Dry:

1. Gators. There are different lengths, colors, and styles for different purposes. Wet grass, snow, mud, rain, and bugs are a few examples. Ours get a lot of use!

2. Camp socks. Spare socks for your sleeping bag are a must! You will thank us later! I currently love “Darn Tough” socks but any socks will work. CD carries three pair of socks. Two for hiking and one only for camp. He continues to stand the principle of camps socks. Whether we are home, in the Sprinter, backpacking, or car camping, we wouldn’t consider getting near our sleeping bags with anything other than our camp socks!

3. Marmot Driclime. This is my favorite layer of all time! CD thru hiked with in 2004 and still wears today. It works for any temperature, packs small, weighs little, and stands up to the challenge. He gave me a Marmot Driclime for my birthday the first year that we met and I was quickly convinced.

Advertisements
Advertisements

For Health and Safety:

1. Mosquito Head Net. When you need this, you will be glad it is packed. It is small, versatile, light, and effective. We recommend wearing it over a sun hat with a brim all the way around. This will keep the net from sticking to your skin or being irritating.

For more tips on handling mosquitos while on the PCT, check out this post: https://ramblingfootsteps.travel.blog/2020/05/07/pct-packing-list-throwback-travel-journal/

2. Black Diamond Head Lamp. CD uses this every day on the trail and at home. It is a way of life I guess.

For a look inside CD’s pack from Northern California onward, please check out the following post. https://ramblingfootsteps.travel.blog/2020/05/07/pct-packing-list-throwback-travel-journal/

If you are seeking a different perspective, you can check out the “what I didn’t need” gear list from REI. You may notice some healthy differences of opinion that are worth checking out!

https://www.rei.com/blog/hike/pacific-crest-trail-packing-brought-didnt-need?cm_mmc=sm_pin-_-always_on-_-brought_didnt_need-_-blog

I hope your thru hike gives you everything you need.

Enjoy and Hike Your Own Hike!

Tips for Handling Mosquitoes While Hiking the PCT.

CD’s trail journal entries become less consistent in Oregon. He documents damp air, cool nights, mosquitoes while hiking, and endless self reflection.

His journal entry from 8/7/04 addresses the mosquitoes three different times in two short paragraphs.

  • As I was alternating between swatting mosquitoes and pumping water today I wondered, “What can’t I just sit on the couch and go use the tap when I want water like most people?”
  • Soon, however, it was back to the woods and endless mosquito-hatchery ponds.
  • Today’s mosquitoes are worse than last night’s but seem to be staying outside (but close).

Tips for handling mosquitoes while hiking.

1. Setting up your Tarptent.

  • Lay down your floor cloth
  • Lay your tent on top of your things
  • Arrange your pack and other belongings on the floor cloth
  • Pull up your tent
  • Climb in quickly
  • Enjoy!
#PCT

2. Cooking dinner.

This may not be the best if bears are a consideration but you pick your poison I guess.

  • Get into your Tarptent
  • Set up your stove and prep your meal in your floor-less tent
  • Quickly move your stove just outside the vestibule, exposing only your hands. Light outside your tent
  • Wait inside the tent
  • Reach out, grab the food and eat

3. Hiking.

  • Expect to be bitten by mosquitoes as soon as exciting your tent
  • Wear your rain jacket for protection
  • Be organized and efficient
  • Start walking
  • Once you hit a good hiking speed, remove your arms from you rain jacket and tie them around your waist
  • Untie your rain jacket and slide it back over your arms and head as you approach water stops or other stops
  • Repeat as often as needed

4. Using your mosquito head net.

5. Embrace at least 20% DEET.

  • Longer hair
  • Thicker hair
  • A longer, thicker beard
#PCT. Notice the hat and the beard.

6. Embrace at least 20% DEET.

You will likely regret it if you don’t have it on hand.

#PCT

The trail through Oregon leads to Mount Hood. CD found himself sleeping close enough to the Timberline Lodge to hear the music and see the lights of two wedding receptions. Such common first-world activities brought forward the surreal reality of having walked there from Mexico.

Was it worth the mosquito bites and endless buzzing? A picture is worth a thousand words.

#PCT
mosquitoes while hiking
#PCT
#PCT

Please note that we are associated with an affiliate marketing program. This means that we may get a small benefit if you chose to purchase a product on our website. There are no additional costs to you. Thank you.

6 Reasons to Consider a Floor-less Tarp Tent.

  1. If your floor gets dirty or damaged, you just get a new one.

2. It doesn’t weigh much. It is quick and simple.

3. It is easy to dry.

Just hang one edge and let it dry while not worrying about the sides sticking together or it getting bunched up.

4. You sleep with less mosquitoes.

When camping in mosquito dense areas, follow this procedure:

  • Lay down your floor cloth
  • Arrange your pack and other belongings on the floor cloth
  • Lay your tent on top of your things
  • Pull up your tent
  • Climb in quickly
  • Enjoy listening to other backpackers zip and unzip their tents while swatting mosquitoes and swearing

5. When the stars are nice but you think it may rain, you can have it on standby and put it up without rearranging your things.

See mosquito control tent procedure above and follow steps three through five.

6. Rodents can go both out and in. – yes, this is a benefit, please see below.

After a few episodes of rodents running in but not finding a way out, CD learned to prop up the edge with a shoe in order for them to quickly get back out. If you are wondering why this would be a benefit, hikers with traditional tents also had problems with rodents. The difference was that in the case of a traditional tent, the rodents chewed their way in but there wasn’t an easy solution to getting back out.

#PCT
#PCT
#PCT. Drying his sleeping bag while hiking

If you are interested in keeping your food safe from rodents, here is CD’s preferred item. Have fun!

Notice: we use affiliate marketing. If you purchase a product through an associated link, we get a small benefit at no additional cost to you.

Sprinter Roof Rails Self Installation Considerations.

We are half way through our roof rail installation. It was two steps forward, one step back all day.

Things that worked:

  1. The heat gun. We rented a heat gun and the plugs popped right out. The glue warmed up and wiped right off. The heat gun was worth it!
Sprinter camping conversion
#vanlife

Things that we learned:

  1. 1 inch bolts are better than 3/4 inch. Our bolts were 3/4 inch and they were too short. The hardware store only had eight 1 inch bolts this afternoon. It was enough to secure the racks and cover the holes but we obviously need more bolts.
  2. Butyl tape is better than putty tape. We didn’t have enough Butyl tape to do the job. The hardware store convinced us to try putty tape and we decided that the Butyl tape was better and worth a wait. We had gotten some Butyl tape from DIYvan.com in Hood River and will contact them for more.
#vanlife